Toddler Witch Costume | Last Minute!
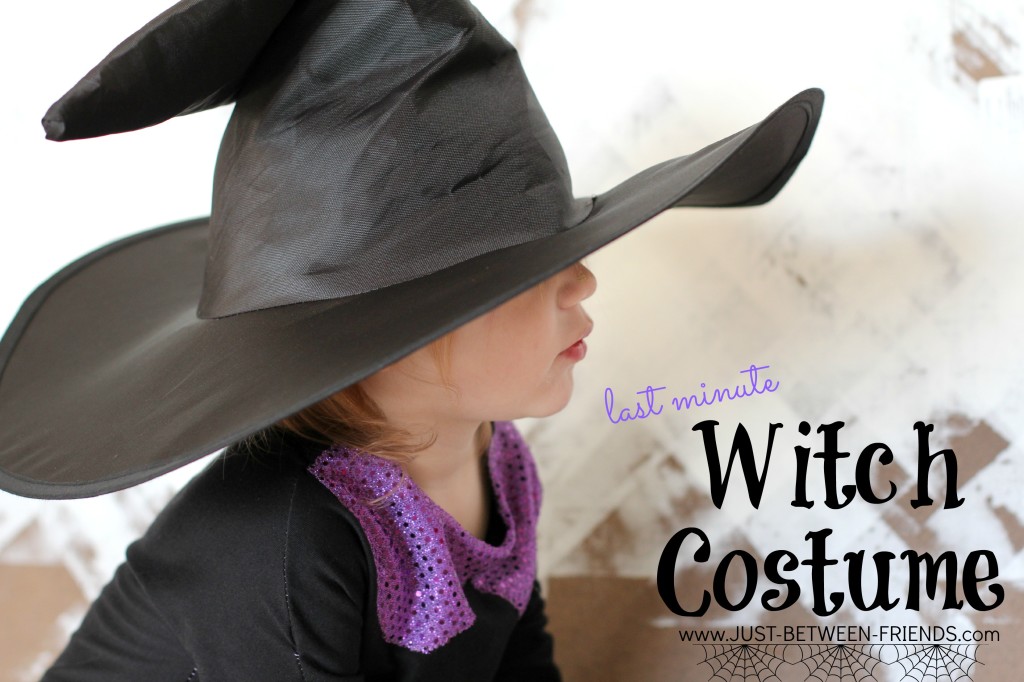
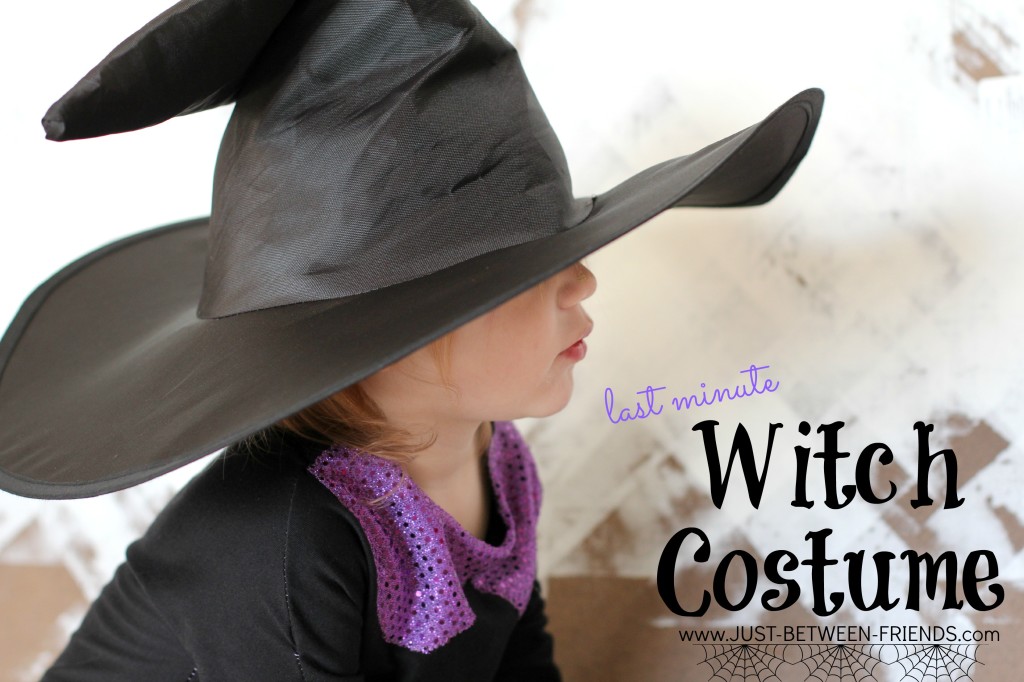
As promised, I am going to show you how to make this cute toddler witch costume. It is so easy and whipped up in less then an hour! That is why I call it last minute. It could be something that would be able to be pulled together quickly. Let’s get started.
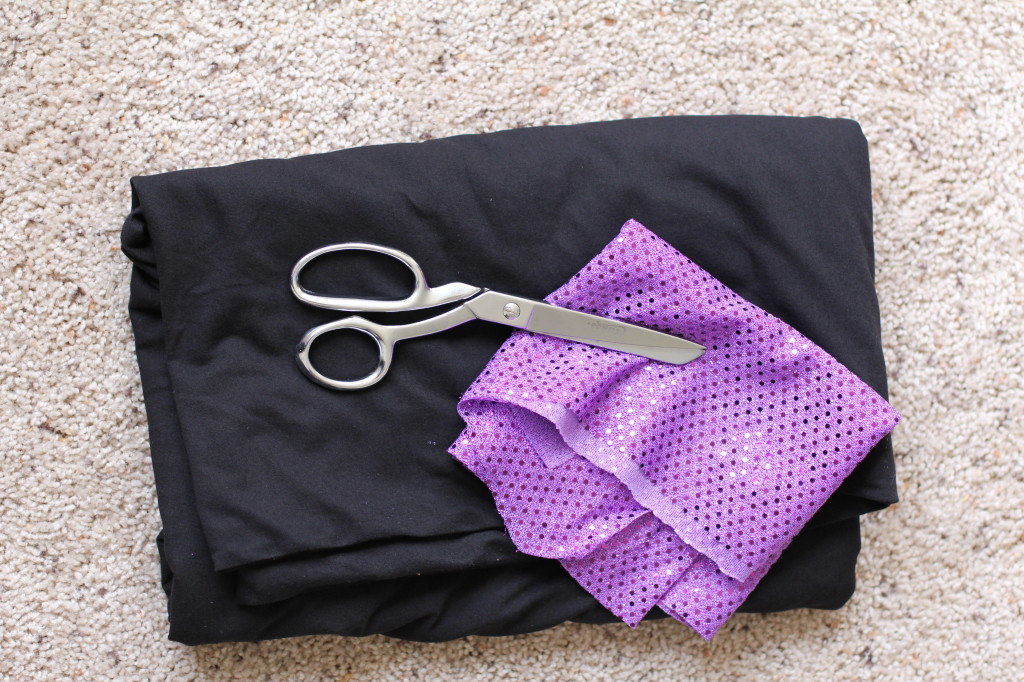
Supplies:
- 1 Yard of knit fabric (I chose a lightweight knit, but a thick knit would work great as well and would keep your trick or treater nice and toasty)
- Decorative fabric. (Optional- If you do purchase this, make sure it has some stretch to it)
- Scissors
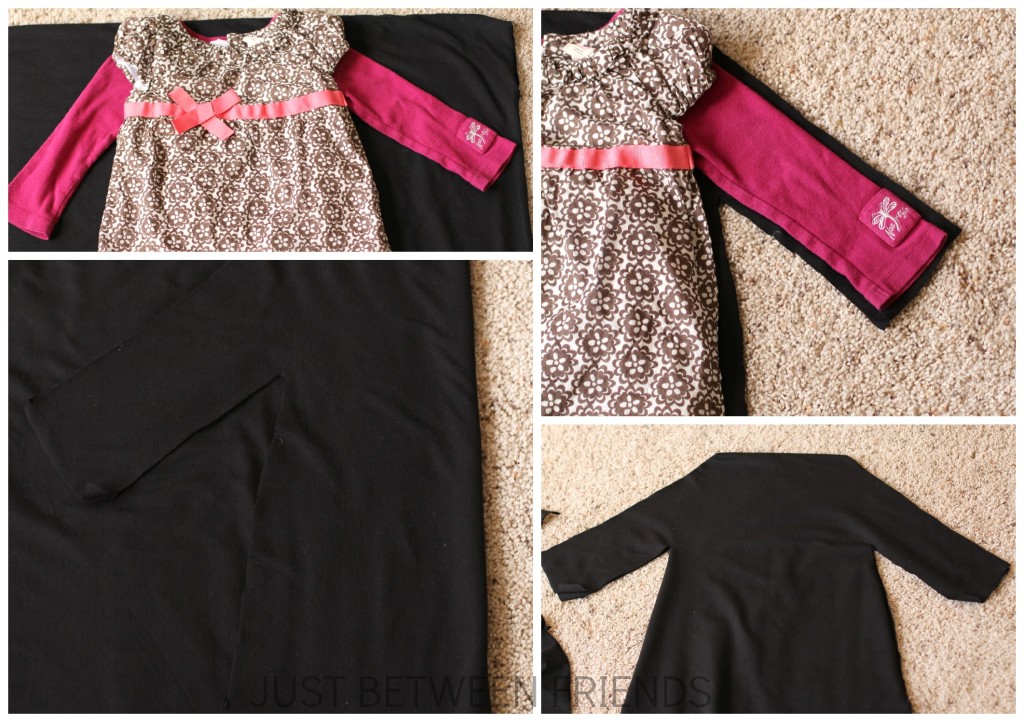
I began by finding a dress that fits my daughter well. It didn’t have long sleeves though, so I also grabbed a long sleeve shirt and put both together to form a long sleeve dress. I folded my fabric in half and laid the dress on top. I cut all the way around one half of the dress/shirt combo leaving a 1/4 in seam allowance. Once I cut the first half, I took the black fabric and folded it in half and used it as a pattern to cut the other side of the dress. This way, there is less chance of the sides coming out differently.
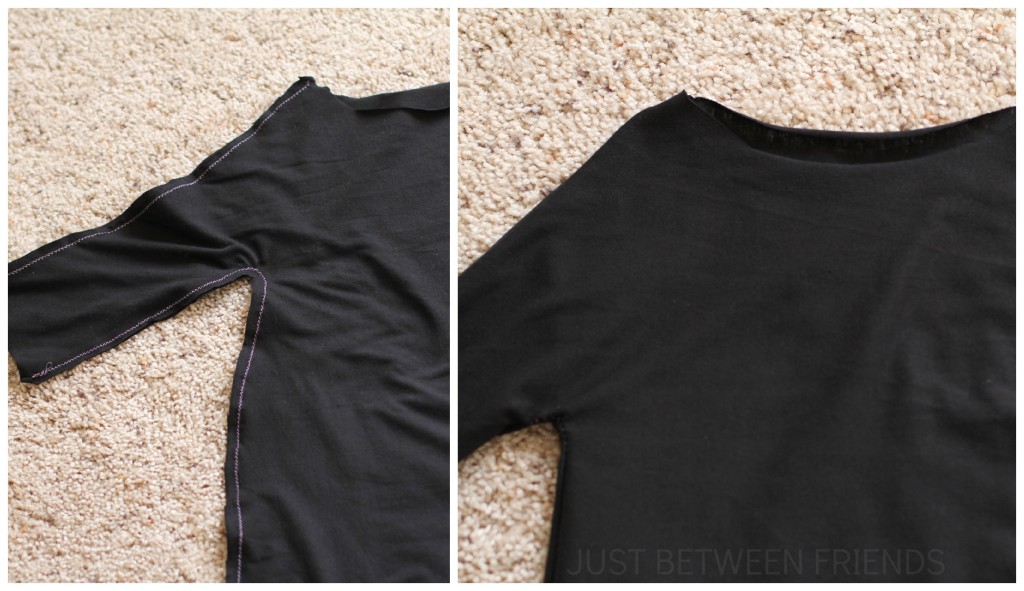
Once you have the dress cut out, you need to cut the neckline. To do this, I folded the front and back pieces in half separately and cut a curve. This is a Halloween costume, not a dress that she is going to wear everyday, so I wasn’t too worried about exactness. I made the front more of a curve then the back but made sure that I cut them the same distance from the shoulder. Now that everything is cut out, I am ready to sew them together. It only takes 4 seams to finish this dress. Be sure to use a stretch knit stitch on your sewing machine. You could also use a serger if you have one, or a zig-zag stitch. You just want to make sure that it keeps the dress stretchy so that it is easy to put on and take off and so that your cute little witch has plenty of movement. Sew the sides all the way from the bottom of the sleeve to the bottom of the dress, then sew the top of the sleeve all the way to the neckline. Then repeat for the other side.
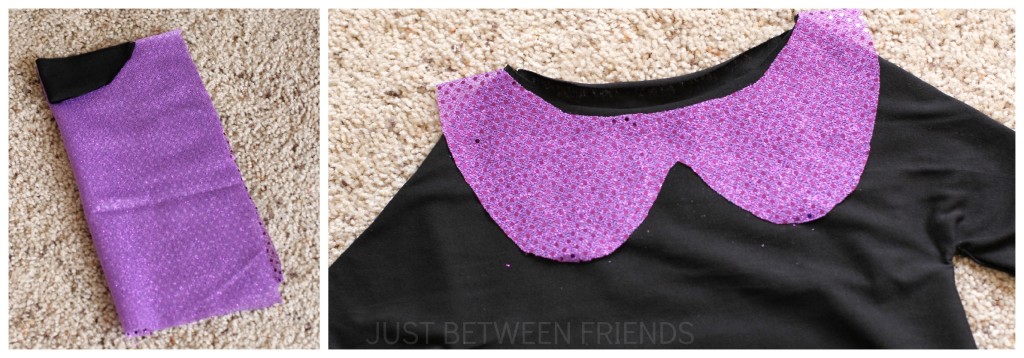
Now it’s time to embellish the top. I used the black piece of fabric that I had cut from the neckline and used it as a pattern for this next part. I wanted to make sure that the Peter Pan collar I was making would fit perfectly around the neckline of the dress. I placed the black piece of fabric on my purple fabric (which is right sides together BTW) and cut. This is now the neckline of the collar. Next, I decided how deep I wanted the rounded collar to go and cut it out while still folded in half. Place it on the dress and ta-da! It works! If you notice, the collar goes above the dress. It was an easy fix. I simply cut the collar to match the sleeve so that it fits right up to the seam.
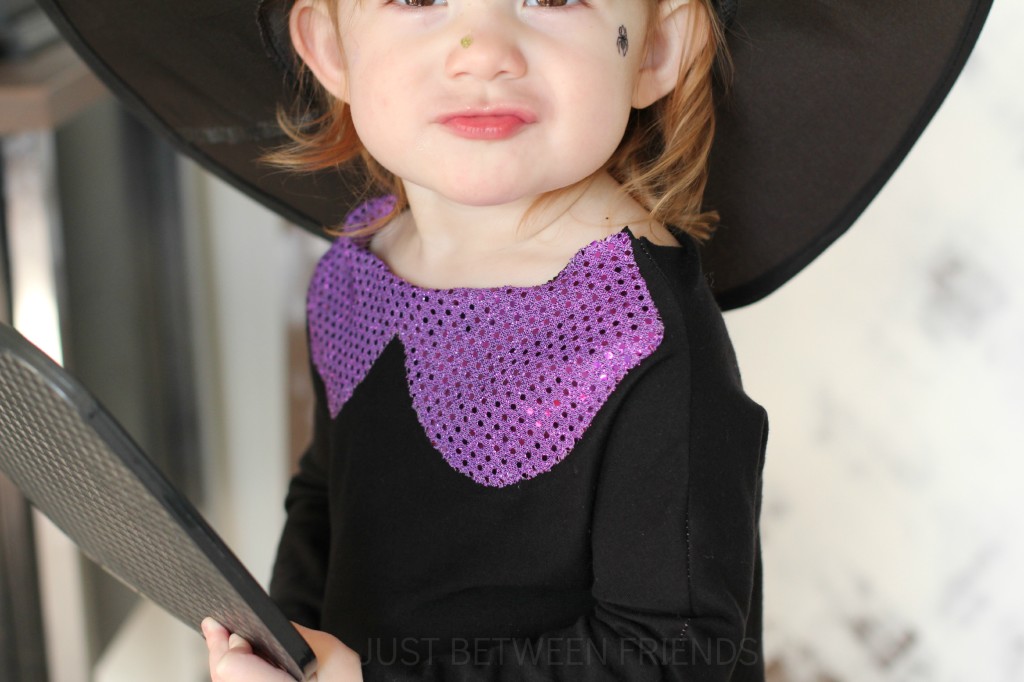
To attach the collar, you just need to use a zig-zag stich and top stitch all the way around the collar. That’s it! You are officially done! Since it is a knit, there is no need to hem anything, and your neckline just got a finished edge since you zig-zagged it into place.
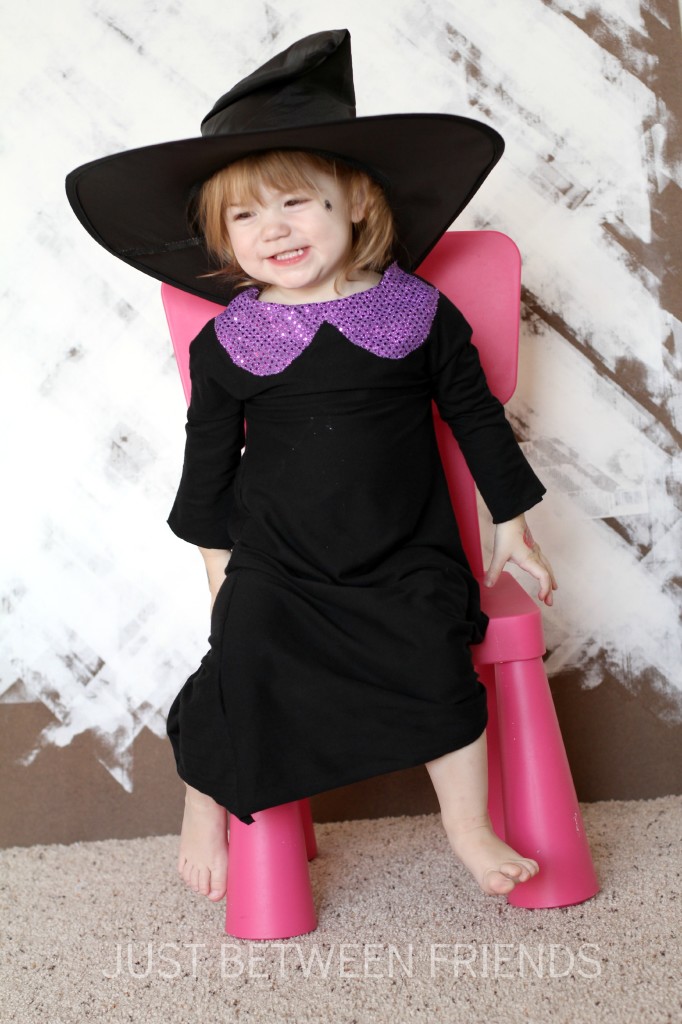
My daughter loved the way it turned out and couldn’t stop staring at herself in the mirror. It was so cute! It really is the perfect Toddler Witch Costume for Halloween!

