


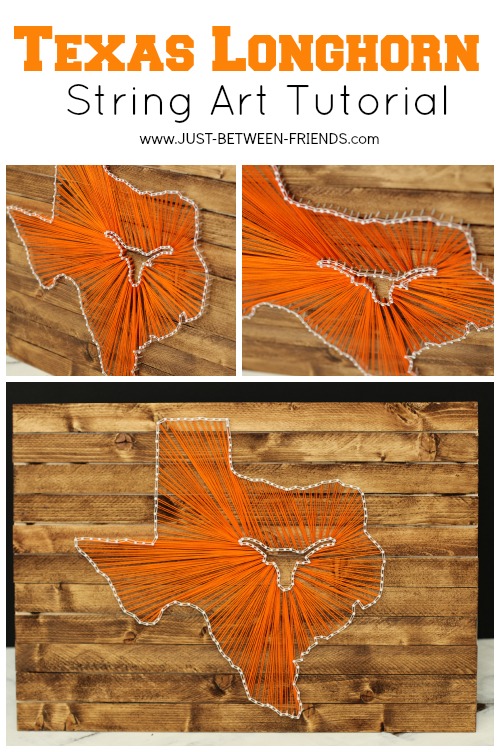
State String Art | Texas Longhorn Style

My brother, Anders, is currently in college taking a Humanities of the Arts class and for their homework assignment, they were asked to do an art project. He’s not really one that is into artsy fartsy stuff, so he went through several ideas before coming up with this string art idea. I know this took a long time to finish, but he was really excited with the results and I am SURE he will get a great grade! He came to my house yesterday and we got to work!
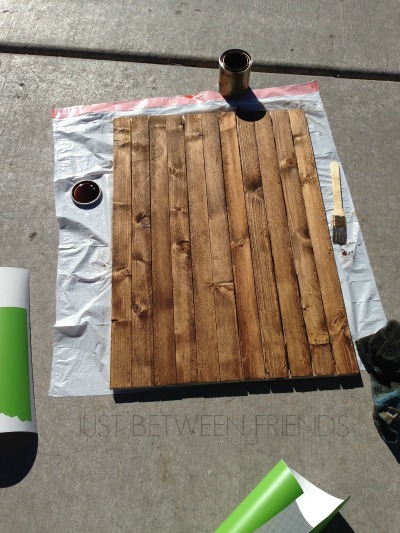
Texas was a natural choice for my brother since he lived there for two years and just recently moved back home. The Longhorn was another natural choice because, I mean, it’s Texas! Of COURSE you need to add a longhorn. 🙂 My brother bought some plywood for the backing, and lath to go on top to make it more rustic and like a pallet sign. He simply cut the boards to size and then used wood glue to hold them all together. Easy enough. After the sign was built, he stained the wood and then it was ready for the fun part.
We pulled out my Cricut Explore and found a Texas image in the image library and made it the size that we needed for his board. This is where I had my first frustrating moment with my machine. The image was bigger than the mat, so the machine wouldn’t cut it out. I had to import the image into another program, break it into three pieces and then put them BACK into Cricut design space and cut them out one by one. It was a very long process, but it worked in the end. I kept a star on each piece so that once it was all cut out we could line them up exactly. I also cut out a Texas Longhorn. The ones in the image library weren’t exactly what I wanted, so I googled “Texas Longhorn silhouettes” and found the one that I was looking for. I imported that into design space and cut it out without a problem.
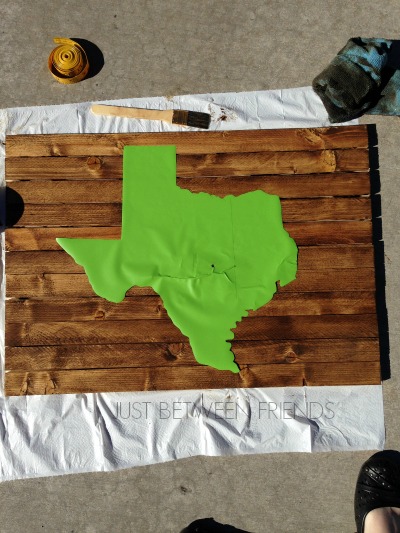
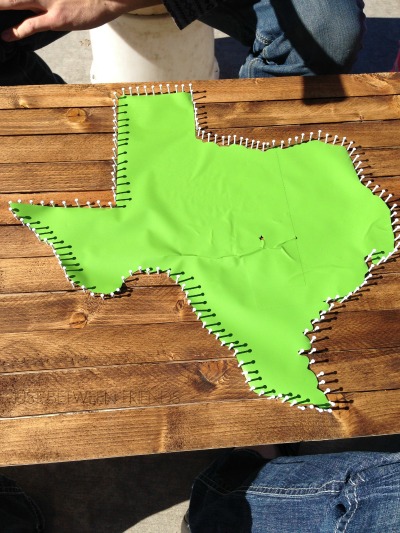
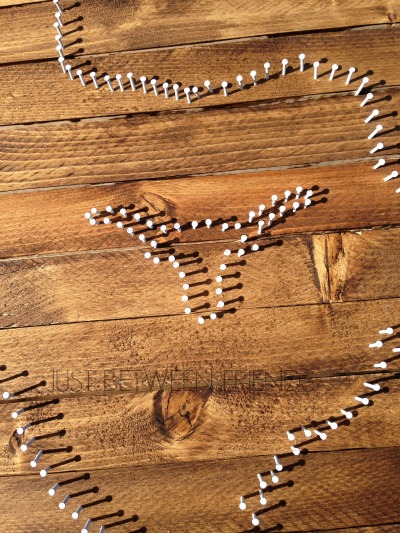
We applied the vinyl to the board and then started hammering some little white nails in all around the outside of the shape. You can space them as far apart as you would like, just make sure that it is consistent spacing. You want the nails to go in far enough that they are sturdy, but stay out enough so that you have somewhere to wrap the string and it also makes it look cooler if it is a little further out.
After the nails went all the way around Texas, it was time for the longhorn. My brother wanted it over Austin, Texas, so that is where it is. We repeated the same process that we did before only this time the nails were much closer together to make sure that the design was obvious and to allow for more places to wrap the strings.
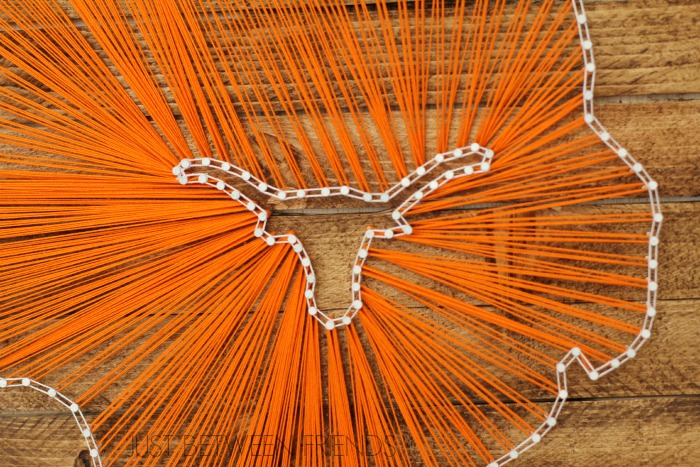
My brother did all of the wrapping of the strings and it took him about 2 hours to get it done. We chose to go with white and orange colored strings because they are the official school colors at the University of Texas. (my brother wanted to make sure I added that part.) He double wrapped each orange string and then went back with the white and wrapped it around each individual nail head on both the front and the back side to make a really cool outline of the Longhorn and the Texas.
What do you think? Pretty dang cool, right?!
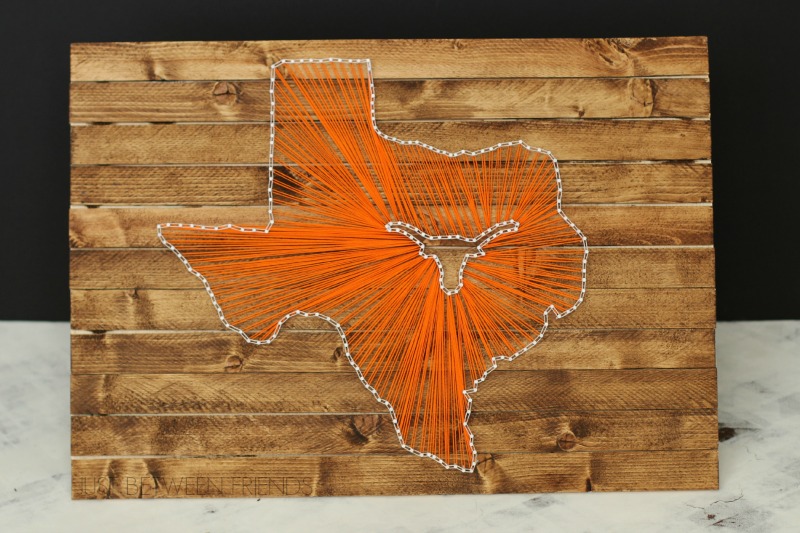
For someone that isn’t crafty, I think my brother did a great job. He was worried that he would have to submit his project to fail blog, but I think it is about as perfect as it could have been! 🙂

Oh my gosh I used to live in Austin and LOVE that place!!! Must share with all my Texas friends 🙂
I love this. It really did turn out great. You know how uncrafty I am, and I totally think I can pull this one off! It will give me something to do during the summer when I’m away from all of you!
Very cool! Turned out great!!
I turned out great! You both did an amazing job!
This looks so great! I think my daughter would have so much fun making something like this. I’m adding it to our craft to do list.
This is awesome! I was wanting to do this as a Christmas gift, what type of string did you use?
What size is the entire piece? I’d like to make one with the same size 🙂
As a UT Alumni, this is AWESOME!!! I WANT ONE!!!
How did you start the string? What if you run out, did you tie them together?
Hi Paige! We used a simple slip knot to get it started. We never ran out of string since we used a spool of string with plenty on it, but if you were to run out, a simple double knot ought to do the trick. Good Luck!
Wow! This is an amazing project! My best friends are moving from Nevada to Austin, Tx soon and this would make a most awesome going away/house warming gift!
Would your brother do a much bigger one?