Project Life for Beginners
This post is part of a paid campaign with American Crafts, but all opinions are my own.
I’ve heard about Project Life before, and have seen a few things about it, but I have never tried it out. I don’t really have a good reason for why I didn’t try it other then the fact that I thought it sounded like more work then I wanted to do. I finally caved and tried it out, and I am here to tell you that I am a believer now! Holy moly! This is the easiest and fastest scrapbooking I have ever done in my life! No seriously. Let me show you what I mean.
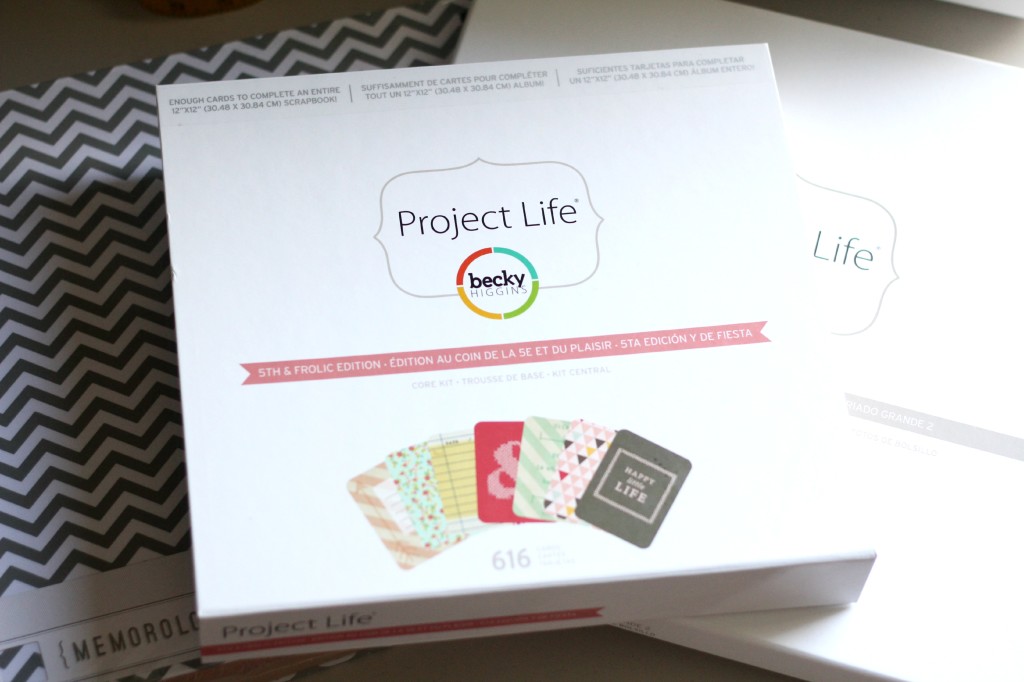
I began with some of my recent favorite photos from two different days. I wanted to see if I could do different types of photos and still use the same Project Life kit. I got the Fifth & Frolic Edition of Project life and got to work with my photos. I adore all of the fun cards that this edition has included in it. It is spot on with my style using light and airy colors and a distressed feel. I literally only had the project life set, the page protectors and my photos when I sat down and got started.
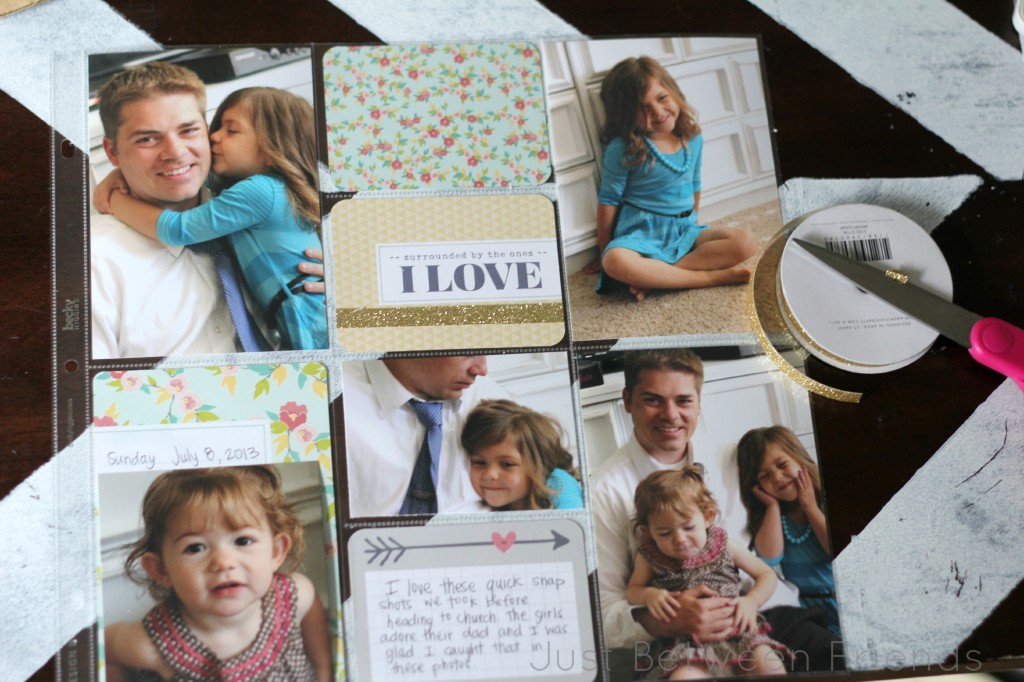
This is the first page that I did. Everything is very straight forward, but it looks so cute all put together. All you need to do is choose which pockets of the page protector will have photos and which will have the cute note cards. Then you assemble them. It didn’t require any adhesive or anything. I did cave a little bit and use some glitter tape that I had on hand, but that is my only embellishment. I added a little bit of handwriting in there to make it more personalized and kind of a journal entry so that I can remember the date and what the photos are from and ta-da! It is finished!
The cards in this set are seriously cute. The hardest part is just choosing which ones you will use with the photos you are using.
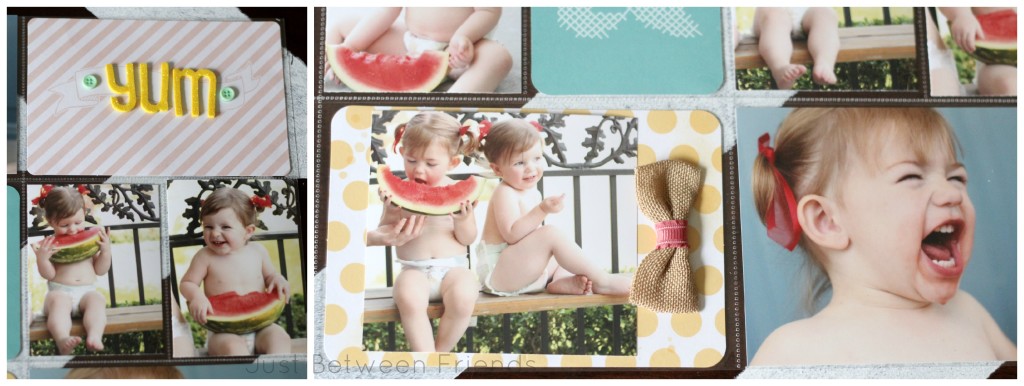
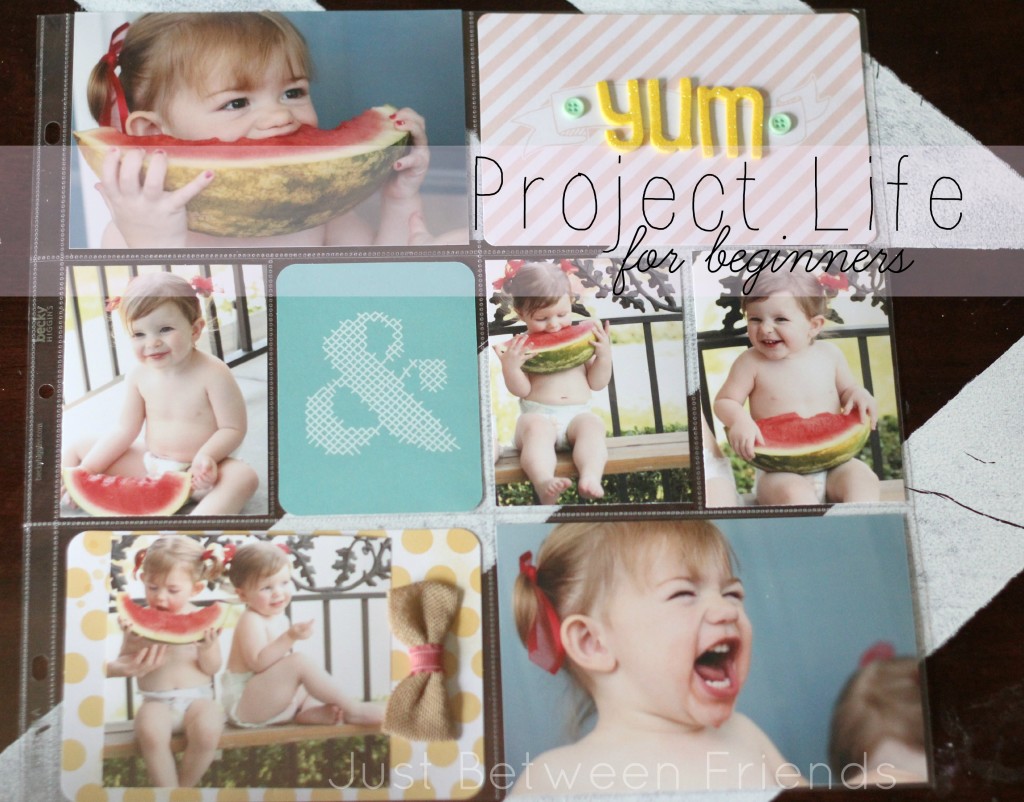
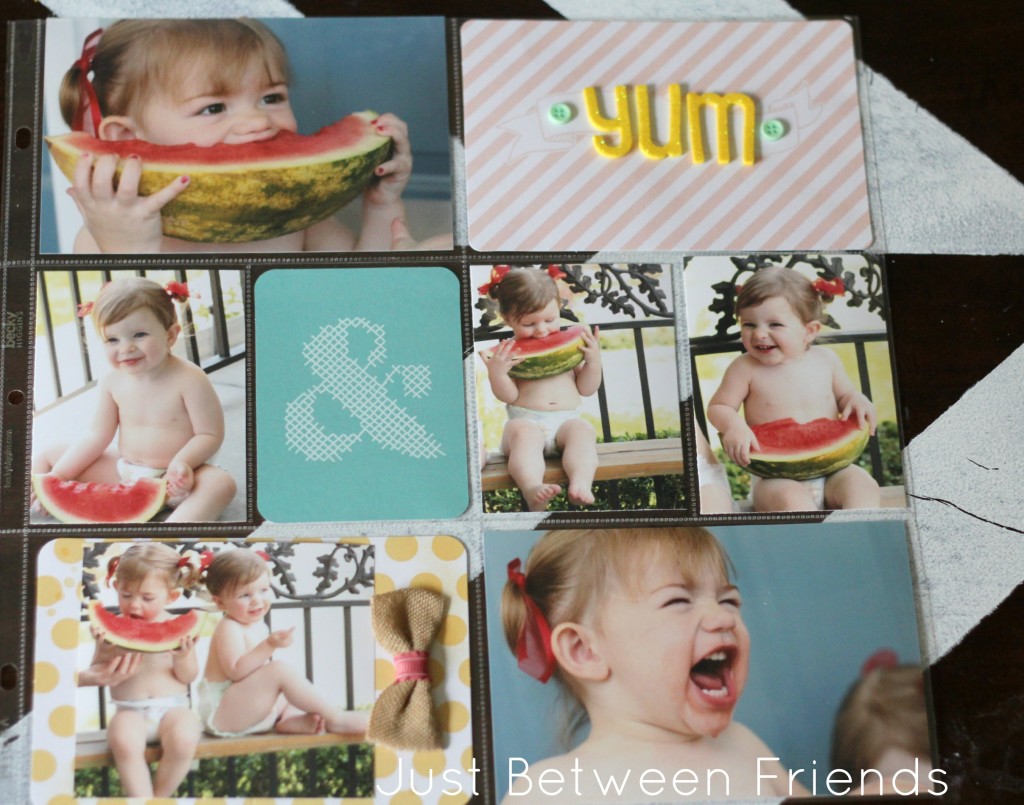
The next page that I did, I used some photos of my youngest daughter and my niece eating watermelon on the fourth of July. Could these two be any cuter? There are all sorts of different page protector layouts that you can use to make it so that your photos work without any sort of cutting, but I only have the two layouts that I used here. I actually liked the look of the photo cut down and then layered on top of the project life card in the bottom photo, and I really liked the look of the three smaller photos in the middle.
I embellished this page a little bit more then the last, but nothing major. It still only took me about 10 minutes from start to finish to complete this page including the time it took to cut out my photos. I got all of the embellishments from American Crafts. (thickers, bow, buttons)
Just to wrap up, here is the gist of things. I initially didn’t try Project Life because I thought it would be complex and time consuming. I finally tried it and found out that using it was totally opposite! You should definitely give Project Life a try if you haven’t already. There are a ton of Project Life editions out there that have different cards that you can use in your scrapbook, and each set comes with enough cards to complete an entire 12X12 scrapbook. You can find it for sale on Amazon or they are now sold at Michaels Craft Stores. Go check it out already!



your kit looks fun and I love your finished pages, they look fabulous. I have also been playing with a project life kit also. Mine is one of the travel ones. Check it out: http://craftynightowls.blogspot.com/2013/08/project-life-becky-higgins-kit.html
I have never tired it. But yours is so cute, now I think I should! 🙂
Oh I love how your layout turned out! So darling!
The pictures of your little girl are SO darling!! I’m more of a digital scrapbooker.. and even then I’ve been slacking – yours turned out great!!