


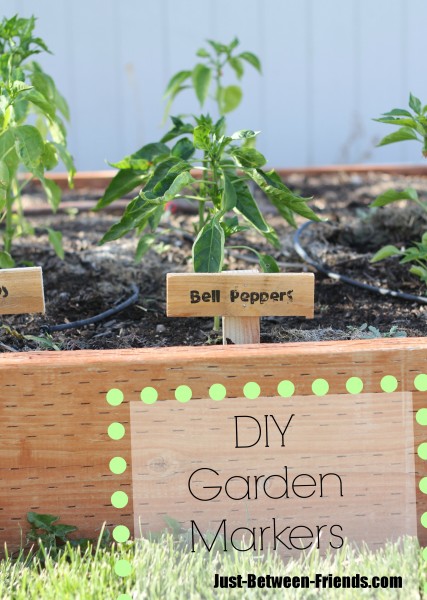
DIY Garden Markers
Today I wanted to share with you the full tutorial for how I made these DIY Garden Markers. The post was originally a guest post as part of the Design Dazzle summer camp series, but I wanted to share it with you as well. Hope you like them! Oh, and ps just thought I would let you know that several weeks later, these are holding up beautifully in my garden!
One of my most favorite things about summer is gardening. This is a recently acquired hobby as we just made our garden boxes last year, but I still enjoy it. I planted quite a variety this year and wanted a way to remember what everything was in my garden. I had some leftover cedar fence posts from a project I just finished in my girls’ room and thought it would be a good idea to use it to make some garden markers. Let me show you how I made these!
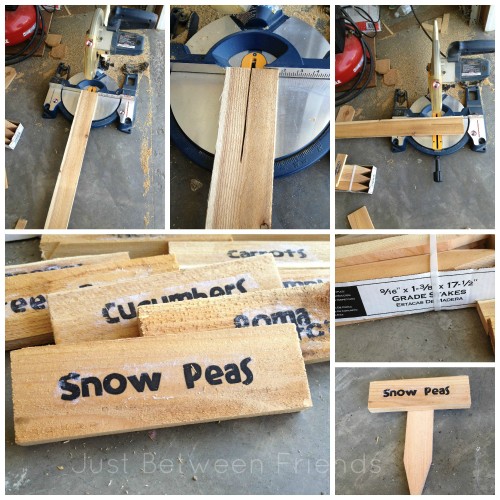
Begin with your wood. (You could get a 1X2 piece of wood and have less cuts, or you could use the 1X4 cedar fence post like I am.) I started by cutting the wood in half lengthwise. I don’t have a table saw, so I just used my chop saw to make the cut and cut it as far as I could. Then after it was cut, I turned the wood and cut it the other way. You should end up with pieces of wood that are about 2 inches by 6 inches. You will also need some wooden stakes. I found these in the lumber section at Home Depot. I didn’t need them to be so long, so I just cut them down to a size that worked for me.
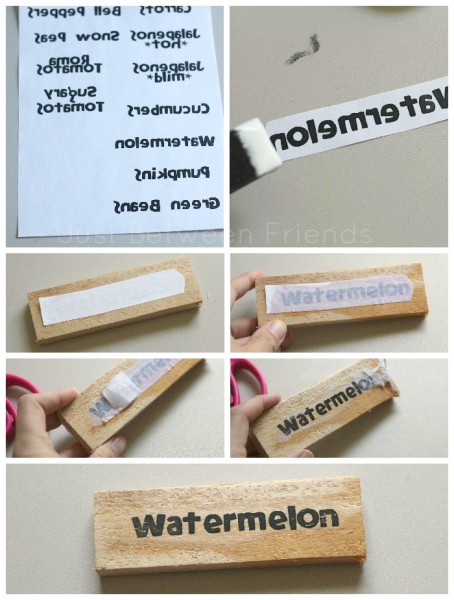
Once your wood is cut, sand one side of the wood so that it is pretty smooth. The ink will adhere to it better that way. To make the words on the garden markers, it is actually a really cool thing. You can literally use any font you would like! I just wrote out the words that I wanted in the size that I wanted using a photoshop type program I have, but then flipped the words so that they were mirror image. If you would like to use the same font I did, I have the printable version all ready for you. You can find that over on my site here.
Now for the cool part. Cut out each word and mod podge it into place on the wooden pieces. Once it has completely dried (the longer you wait the better) you are going to run a little bit of water over the top of the paper. Then you will remove the paper gently and it will leave the letters behind. There is definitely a learning curve that goes along with this, so be patient. If you gently roll your finger over it, you should be able to peel the paper back a layer at a time. Pretty cool, huh!?!
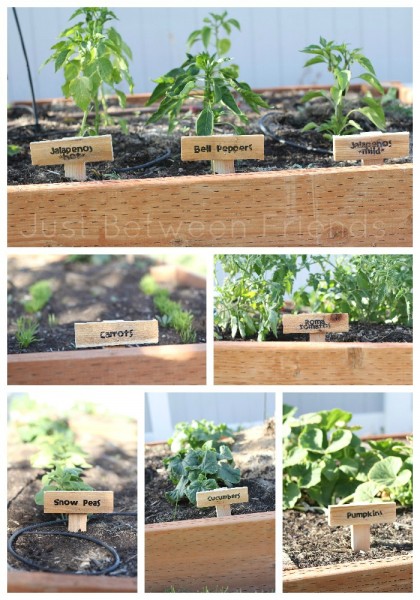
All that is left to do is attach your wood markers to the stakes (I used nails) and then I sealed them with a clear coat of spray paint. I didn’t want all that hard work to wash off with the first watering of my garden! The other thing that using the clear coat did was it made all of the little white pieces of paper that I couldn’t quite get off, disappear.
I love the way they look in my garden! I hope you enjoy them as much as I do 🙂

I just planted an herb garden and was thinking I should do this!
These are so cute! I love gardening! Ps. I had no idea there were different jalapenos! I thought it just depended how red you let them get!
Those are the CUTEST garden markers!!! I just made some about a month ago… but they aren’t nearly as sturdy as yours – I love them! Definitely pinning in my “outdoors” board 🙂
I LOVE this garden idea. It would be perfect as gift idea! We would love to have you link this or any of your posts to our Saturday Show Us How You Rock Link Party. It starts Fridays at 6pm and ends the following Thursday at 10pm, hope to see you there!
Tracy
http://www.madefrompinterest.net/
Are you able to place these on painted wood if you sand after the coat of paint dries? So cute!
Ali, I would bet that it would work about the same! I haven’t ever tried it, but now I am curious and might give it a shot sometime to test it out. Thanks for the idea 🙂