Olliblocks & a Bag Tutorial
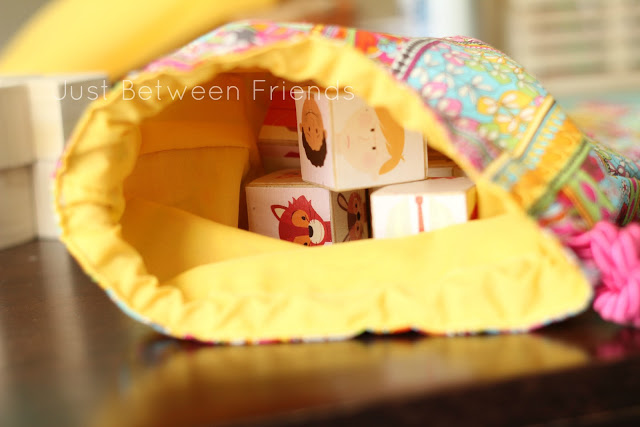
A couple of weeks ago, I stumbled upon the cutest DIY blocks in the world. They are called Olliblocks, and as soon as I saw them, I knew I needed to make them for my girls. How fun are they? My girls LOVE them. They love making the people have monkey feet or the girls have boy bodies. They are just adorable and so so fun. There is a full tutorial over on the Ollibird website for how to make the blocks.
What I wanted to show you is how to make the bag that I made to hold all of my blocks.
This project took me about 20 minutes to make and is so easy! You can use this bag for holding anything, but it really is perfect for holding the blocks. Let’s get started.
You are going to need two coordinating fabrics, and some cording. I picked mine up at Hobby Lobby. You don’t really need a ton of fabric since the bag isn’t that big, but if you wanted a bigger bag, this tutorial works as well. Just adjust the measurements to your needs.
I cut the folded fabric to be 10X12 inches. (Make sure that you fold the fabric and then cut it out to be 10X12 so that altogether the fabric would be 10X24 inches. Make sense?) Just the right size!
Once you have your pieces cut, sew up the sides of the fabric leaving the top part open. Do this for both pieces of fabric. Once you have sewn the sides, turn the patterned fabric inside out (or whichever fabric you will have on the outside.) Then place the solid fabric inside the patterned fabric so that the right sides are touching and the seams on the sides match up. Using a 1/4″ seam allowance, sew all the way around leaving a small opening so that you can turn the bag right side out.
Once the bags are sewn together, you will turn it right side out, pin all the way around so that the opening will be sewn shut, and the sew 1/4″ all the way around the top of the bag. Next, sew a line that is 1 inch away from the first line so that you have a double line all the way around. This will act as a tube for where your cording will go.
Next, go to one of your side seams and cut two slits into the top fabric ONLY. Don’t cut all the way through or it won’t work as well. To make sure that the slits wouldn’t rip, I backstitched a couple of times at the top and bottom of the slits. Next, run your cording through one slit and the tubing you created and then out the other slit.
Lastly, I knotted the cording so that it couldn’t be pulled through the bag, and I also melted the edges of the cording so that it wouldn’t unravel on me.
That’s it! Now fill it with some adorable Olliblocks and give it to your kids to play with. Trust me. They are going to LOVE them!
(Visited 284 times, 1 visits today)


Very cute blocks, and what a fun bag to carry them around with!
These are so fun! And I love the bag they are in!
I really really really really really really love these. I totally need to do this for Christmas.
Very cute, I love the colors you selected for the bag.
Hi Jonie, how adorable! The block and the bag, colors and design are perfect. I’m a new follower!
Have a good day, Nancy
Great bag and now I want to make a bag and blocks for my little girl.
Love your bag. Are your olliblocks 1 1/2 inches or 2 inches?
Where can i buy this fabric?