


Toddler Bed Tutorial
I finally can sit and breathe long enough to get this written up.

This is for anyone that is wanting to make one of these for their little toddler, or needs a comfy place to sit and snuggle with your baby.
(I will not be giving specific measurements as every bed will be different based on the headboard and footboard that is used.)
To begin, you will need an old queen sized headboard and footboard. Cut the footboard in half. The two halves become the sides of the bed.
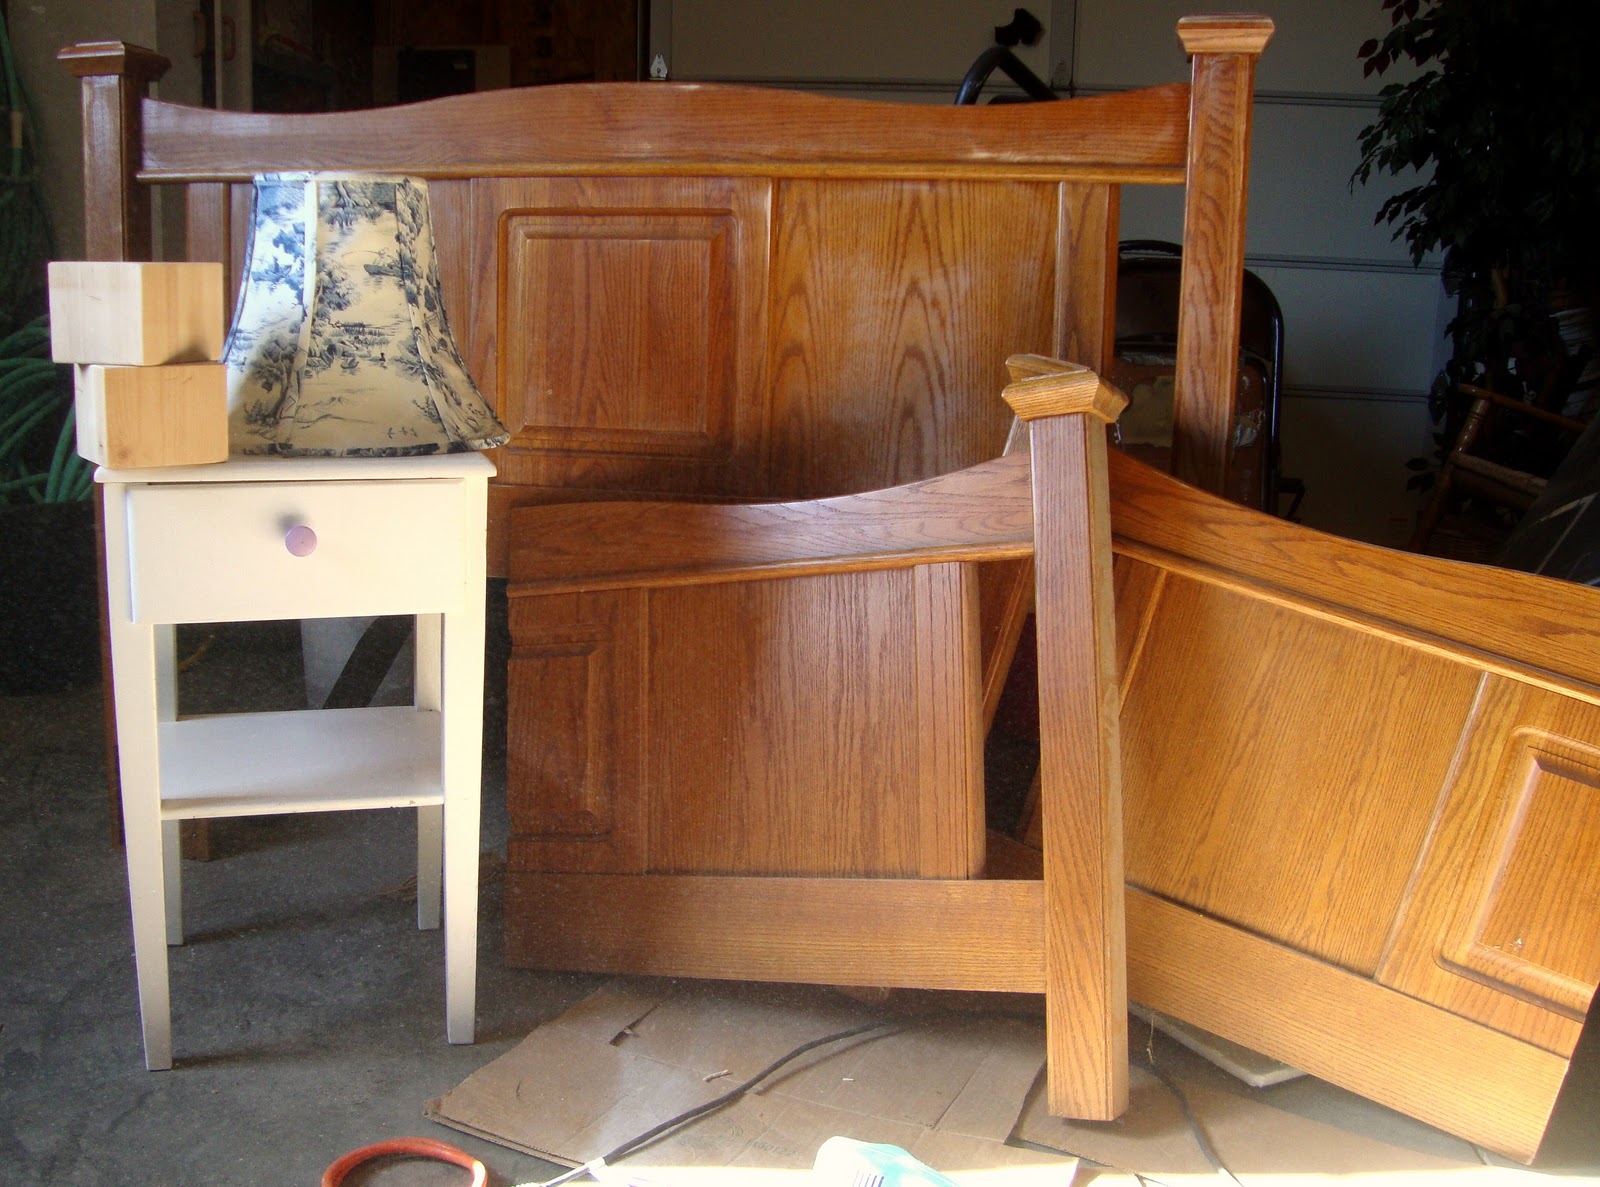
To get my sides to be the right height, I used blocks of wood under the front legs of the sides. I will point it out to you in a min.
Attach the sides to the headboard using “L” brackets.

Then you will need a 1X2 that is the length of your headboard. Screw it directly into the headboard. This will be where the boards go to hold your mattress. (it is the lighter wood that is horizontal on the headboard.)
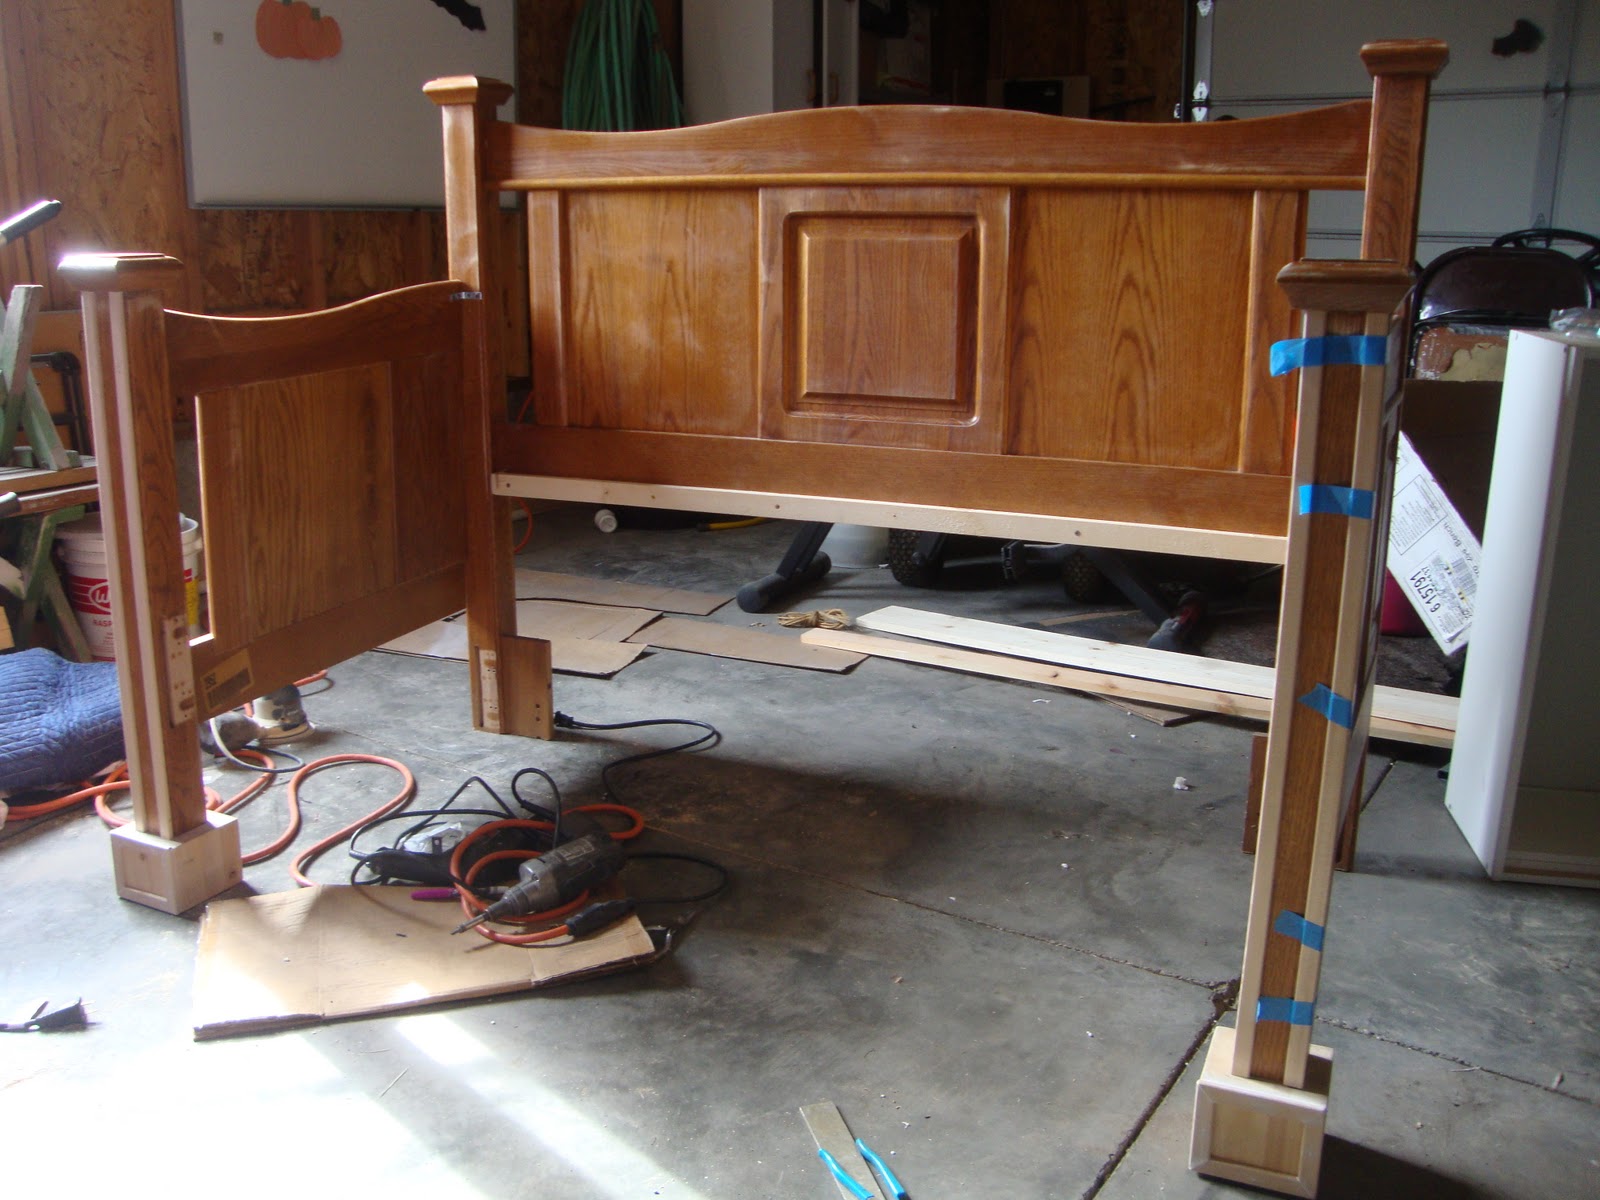
I also added molding to the front of the bed legs. It helped to make it look more pulled together. All you need is a little liquid nails and some painters tape. Let the glue dry and you will be good to go. It is not an area that will be holding any weight, so glue works perfectly.

Now, sand it like crazy.
You will need some 1X6s for the next part. Measure the distance between the two legs and cut your 1X6 to that size. It is going to be the front of the bed. I used “L” brackets to attach it as well. Then, just like you did with the headboard, attach a 1X2 directly into the 1X6. It will be the front part of where the mattress boards will rest. Measure the distance from the front 1X2 to the back 1X2 and that will tell you how long to make the boards to support your mattress. I used 1X6s and 6 seemed to be just the right number to give the needed support.

This is where pictures become a little scarce, but I will try to do my best to describe the next steps.
I wanted to have a shelf underneath the bed to hold toys and whatever else my daughter wants to put there. I got 1/2 inch plywood and had it cut to the size of under the bed. You can’t see it, but the plywood rests on the blocks of wood in the front. In the back, I got a 1X4 and connected it to the headboard along the floor. Then I screwed through the plywood into the 1X4 to give it support.
Next, I wanted the front to be a little more supported, so I got a square piece of wood and attached it to the front, middle part of the bed.
I ran a little molding across the front to cover the ugly plywood and then put on a coat of paint.

Here is my advice to you. Measure your doorway in relationship to your bed. Will the bed fit through your doorway once it is assembled? If the answer is no, you will need to make it so that you can un-assemble and then re-assemble if needed. Otherwise, you will be just as discouraged as I was. I had a couple of hours to go before my post had to be submitted to the contest when I tried to bring the bed into my daughter’s room. I cut it really close to the deadline that day. At least I made it and I didn’t even swear once. (outloud)
I am so pleased with the way it all turned out.
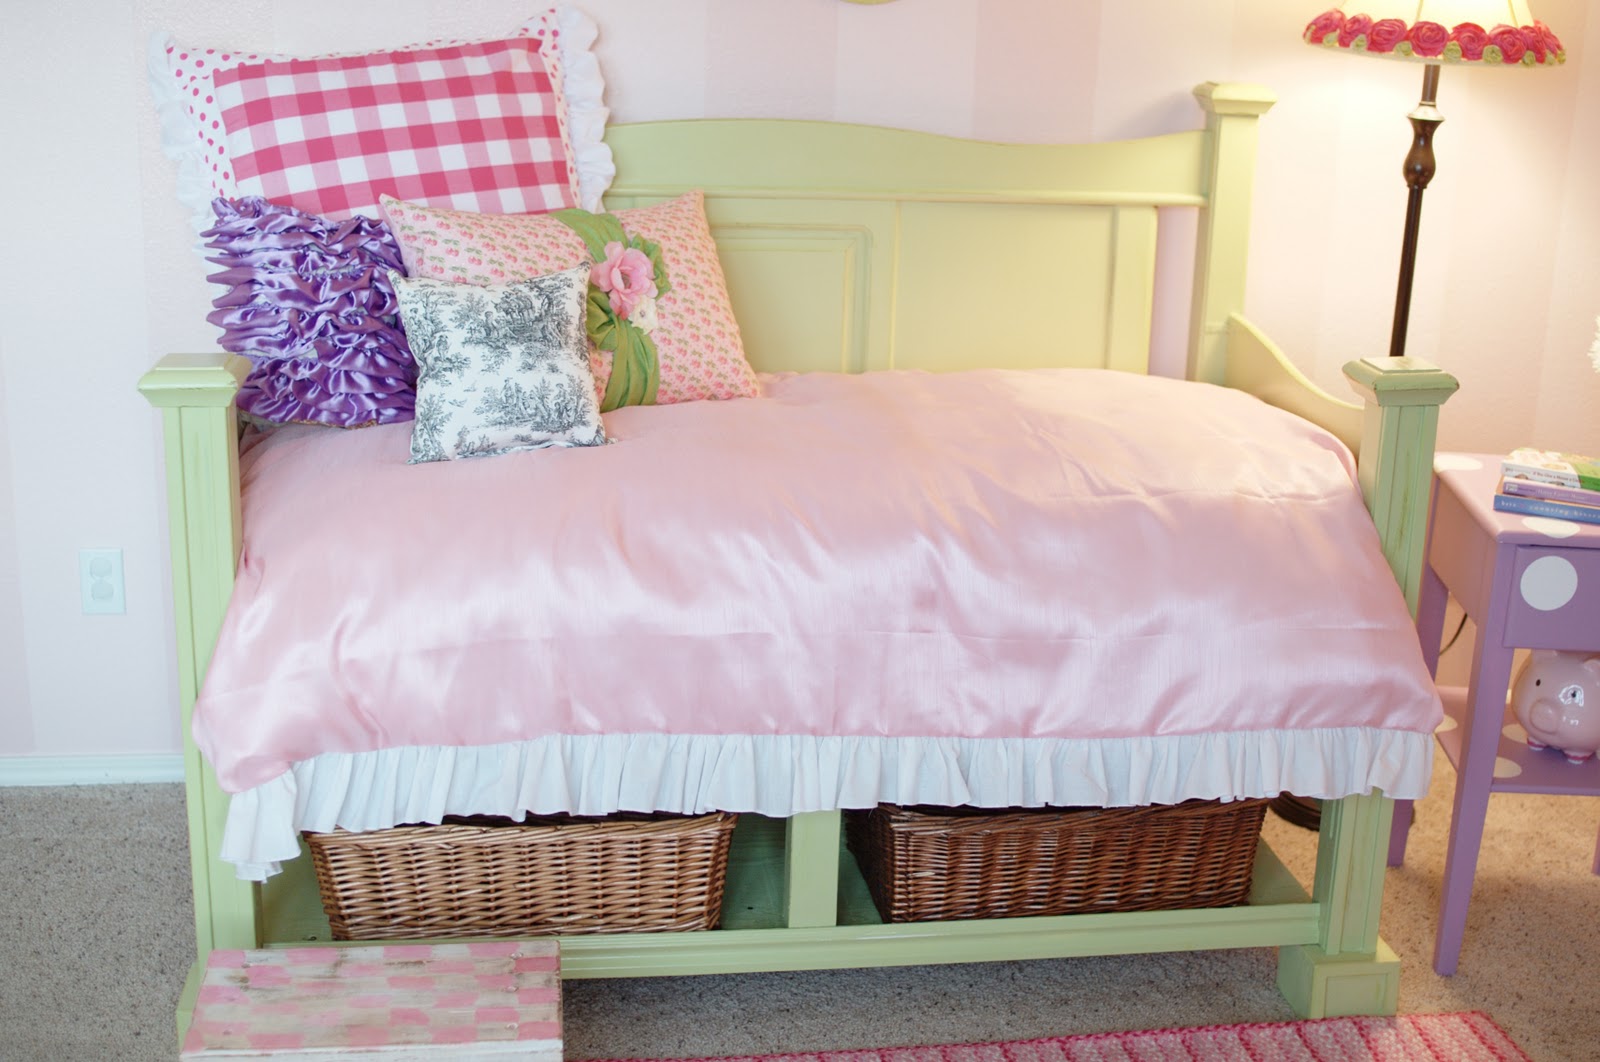
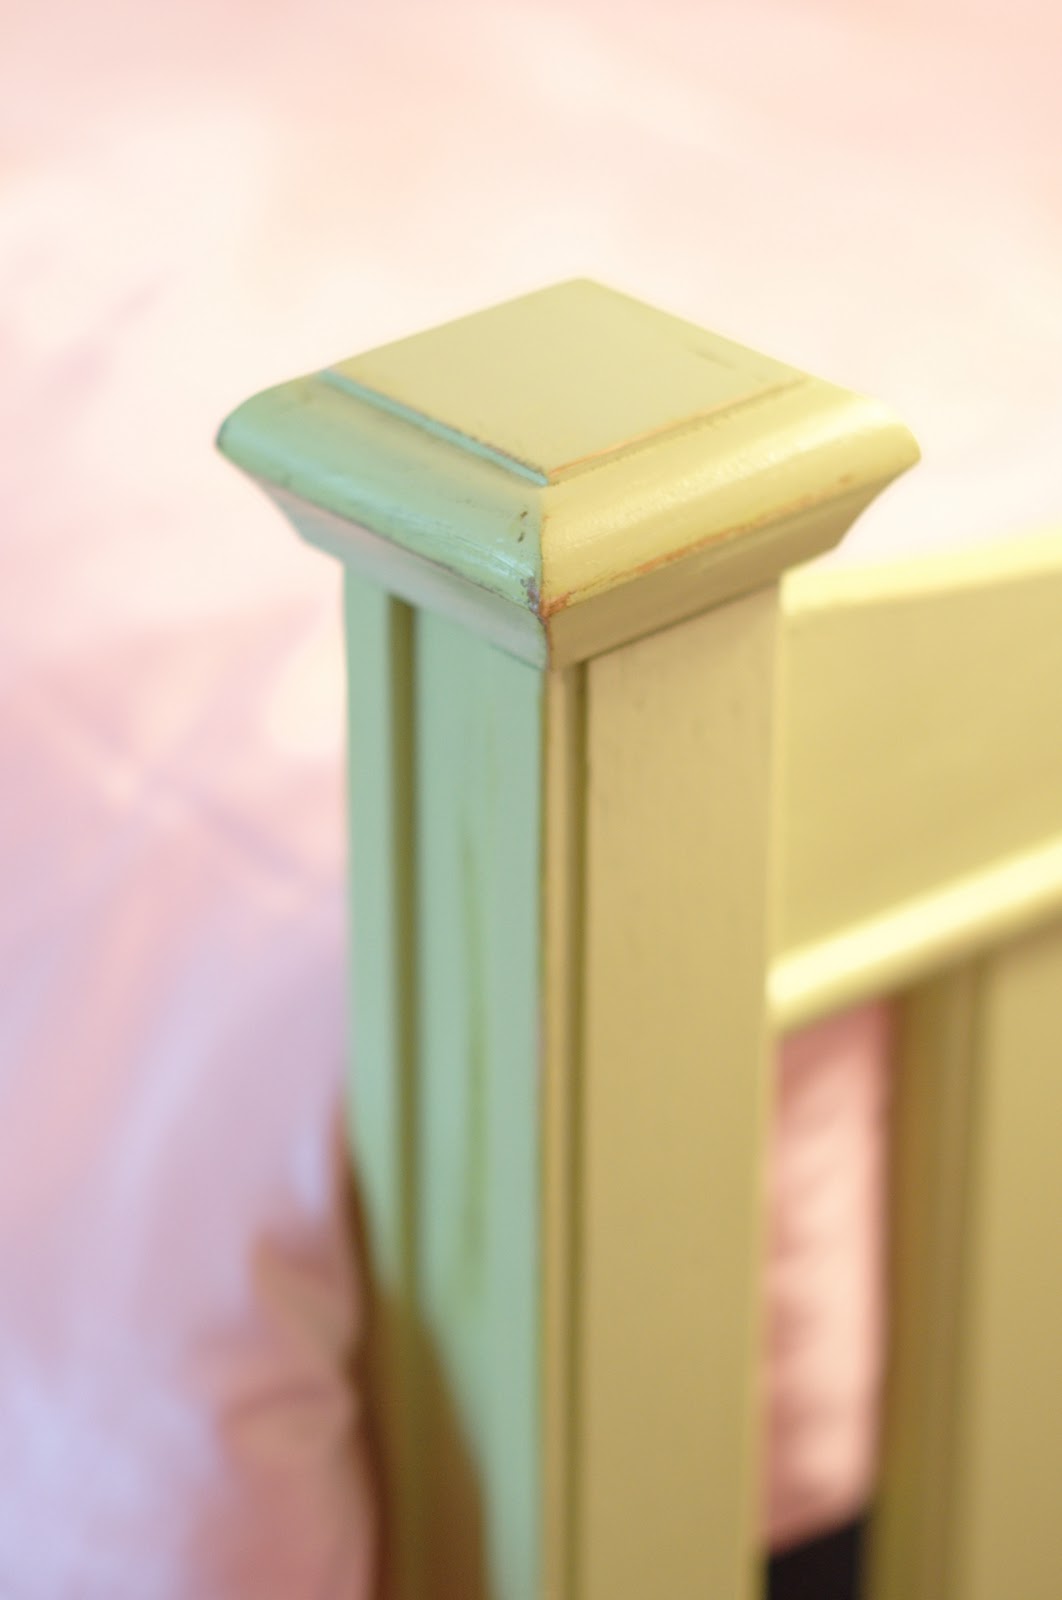
This happened quite by accident, but trying to get the bed in the room caused some of the paint to rub off/chip off. So I decided that instead of re-painting, the bed would become a shabby sheek bed and I am glad I did. It really added a lot to the bed and I love the result. I sanded a couple of other parts to make it all look like it worked.
I hope that my tutorial all made sense for you. Please let me know if there are any questions that you have. Also, if you decide to make one of your own, I would LOVE to see it. Send me a link!
If you haven’t seen it already, there is now a facebook page for Just Between Friends! Go ahead and click like. you can find it on the sidebar of my blog. There is no pressure to like it, I just thought it would be a fun way to get to know my readers better.
(Visited 191 times, 1 visits today)

I love this idea!! We were looking into a bed for my daughter- her room is very small and I did not want to pay 150.00 for a bed frame and 60.00 for a custom mattress!! I just had a question about what size mattress you used ? IS it a toddler size or a crib sized mattress? Thanks so much – I am SOOO excited that you posted this!!!
Lyndsey
Wow! I absolutely love it! You did a great job! Love the color you painted it!
This comment has been removed by the author.
Lovely and amazing! It’s a great inspiration for my little girl’s room:) Thank you!!:)
This is awesome, it turned out so great! You are super creative 🙂
what a great idea and repurpose. I love the styling.
This is totally awesome! Wow again.
this is an amazing transformation – I remember seeing it a couple of weeks ago, but forget where it was featured! Great job, I am so impressed!!!
Awesome job! I’ve been on the hunt for a new bed for my daughter and this is fabulous! Not sure if I have the guts to go for it, but you make it look pretty easy!!
Amazing DIY project! I love this idea and may have to use it if I can find the perfect headboard/footboard 🙂 The room is lovely..your little one must feel like a princess!
I ADORE this! I’ve been looking for some inspiration for my two year old’s room and I think I just found it! Thanks so much for sharing, this came out Great! I’ll be following to see what other amazing things you have to share!
This is such a creative awesome idea. Who would have thought you could make something soo cool from a head & footboard. Great job!!
Love Love Love this bed! What a great tutorial! Found you on UTB Meetup page 🙂
Cute bed. I have made benches out of headboards and foot boards but this is way cuter. Is it a twin or crib size matteress?