Today you are going to get a tutorial from my youngest sister Annie.
She is 13 years old and loves to make hair flowers. She even has a blog that she sells them on. If you need some flowers, you should go check out her blog : Tickled Pink
Ribbon Flower Headband Tutorial 🙂
To start you need:
· Scissors
· Wired Ribbon- any color. The thicker the ribbon the bigger the flower will get.
· Head band to match the ribbon
· Felt
· And tons of hot glue
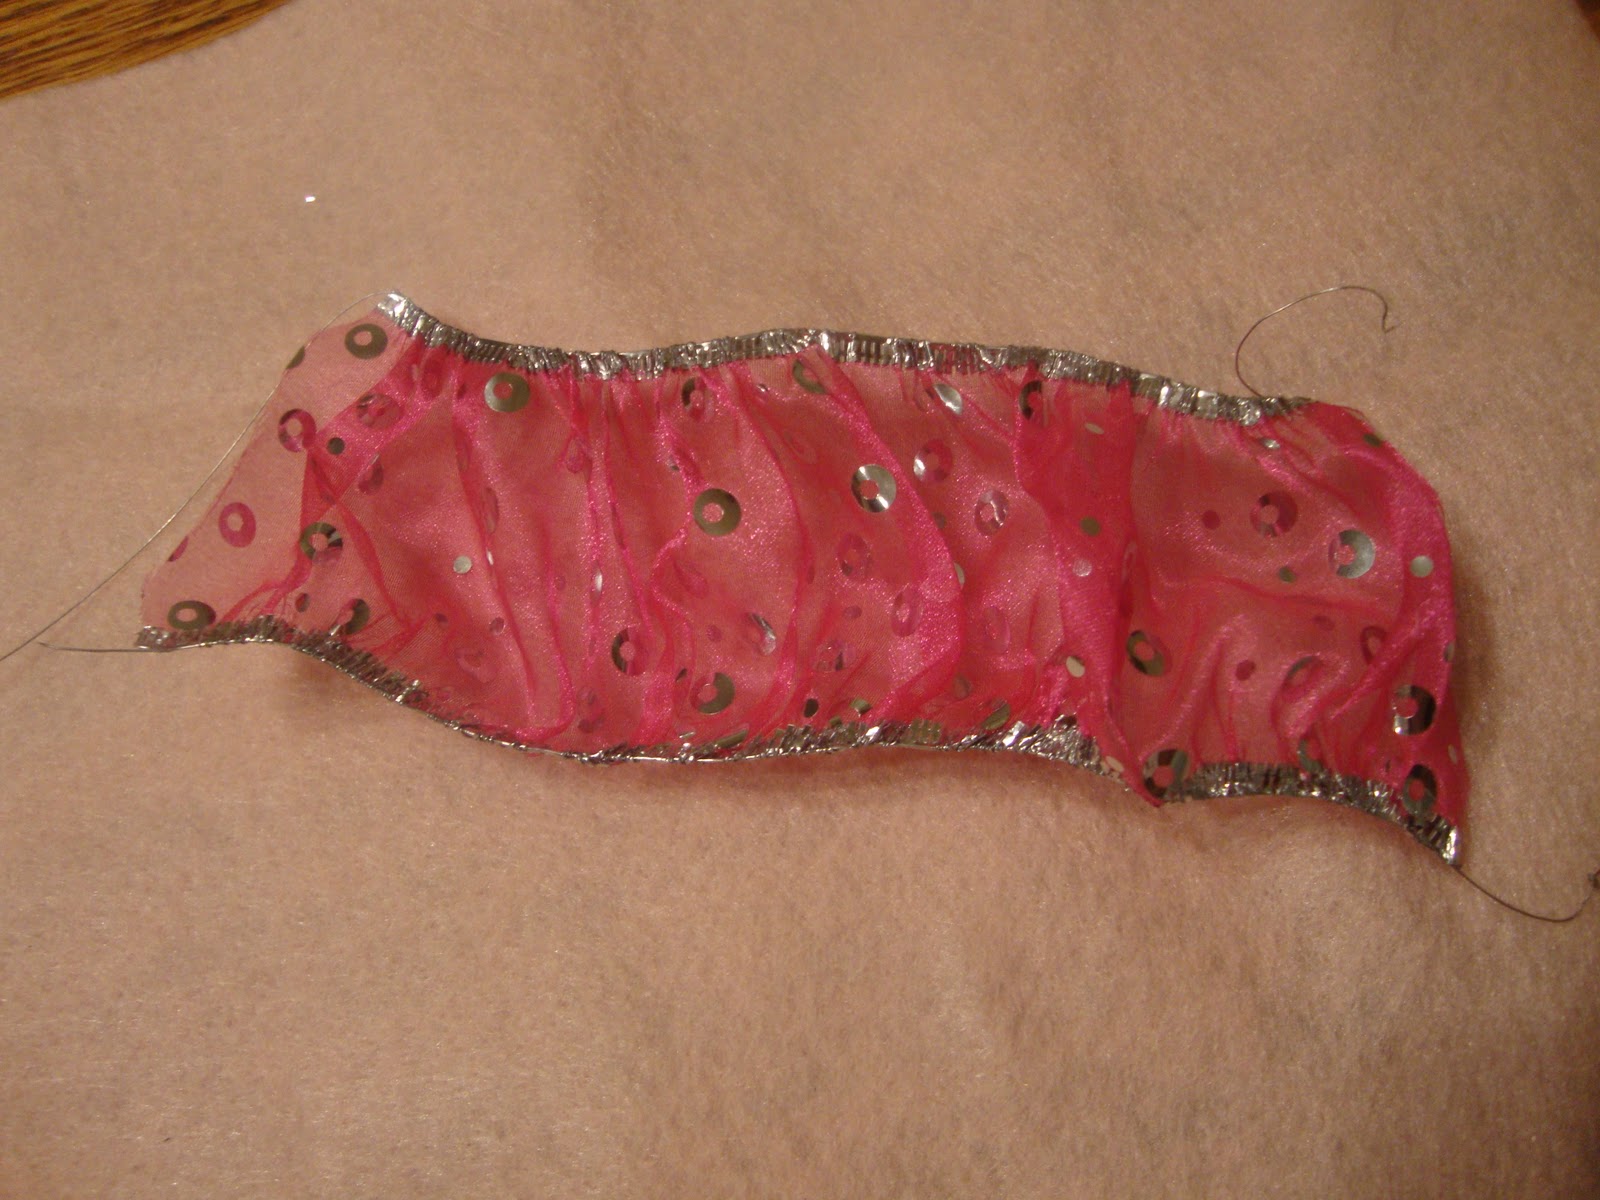
You first need to cut the ribbon whatever size you want. It only needs to be about a foot long. For the biggest flower, you will need about a foot and a half.
Then you take the Ribbon and find the little wires on the ends. One at a time, you pull the wire about 3 inches and tie a knot on it. After you have the knots tied, go to the other end of the ribbon and then pull the wires to make it so that the other end of the ribbon gathers too. Gather it as much as you like. (I gather it a little loose so that my flower is bigger.)
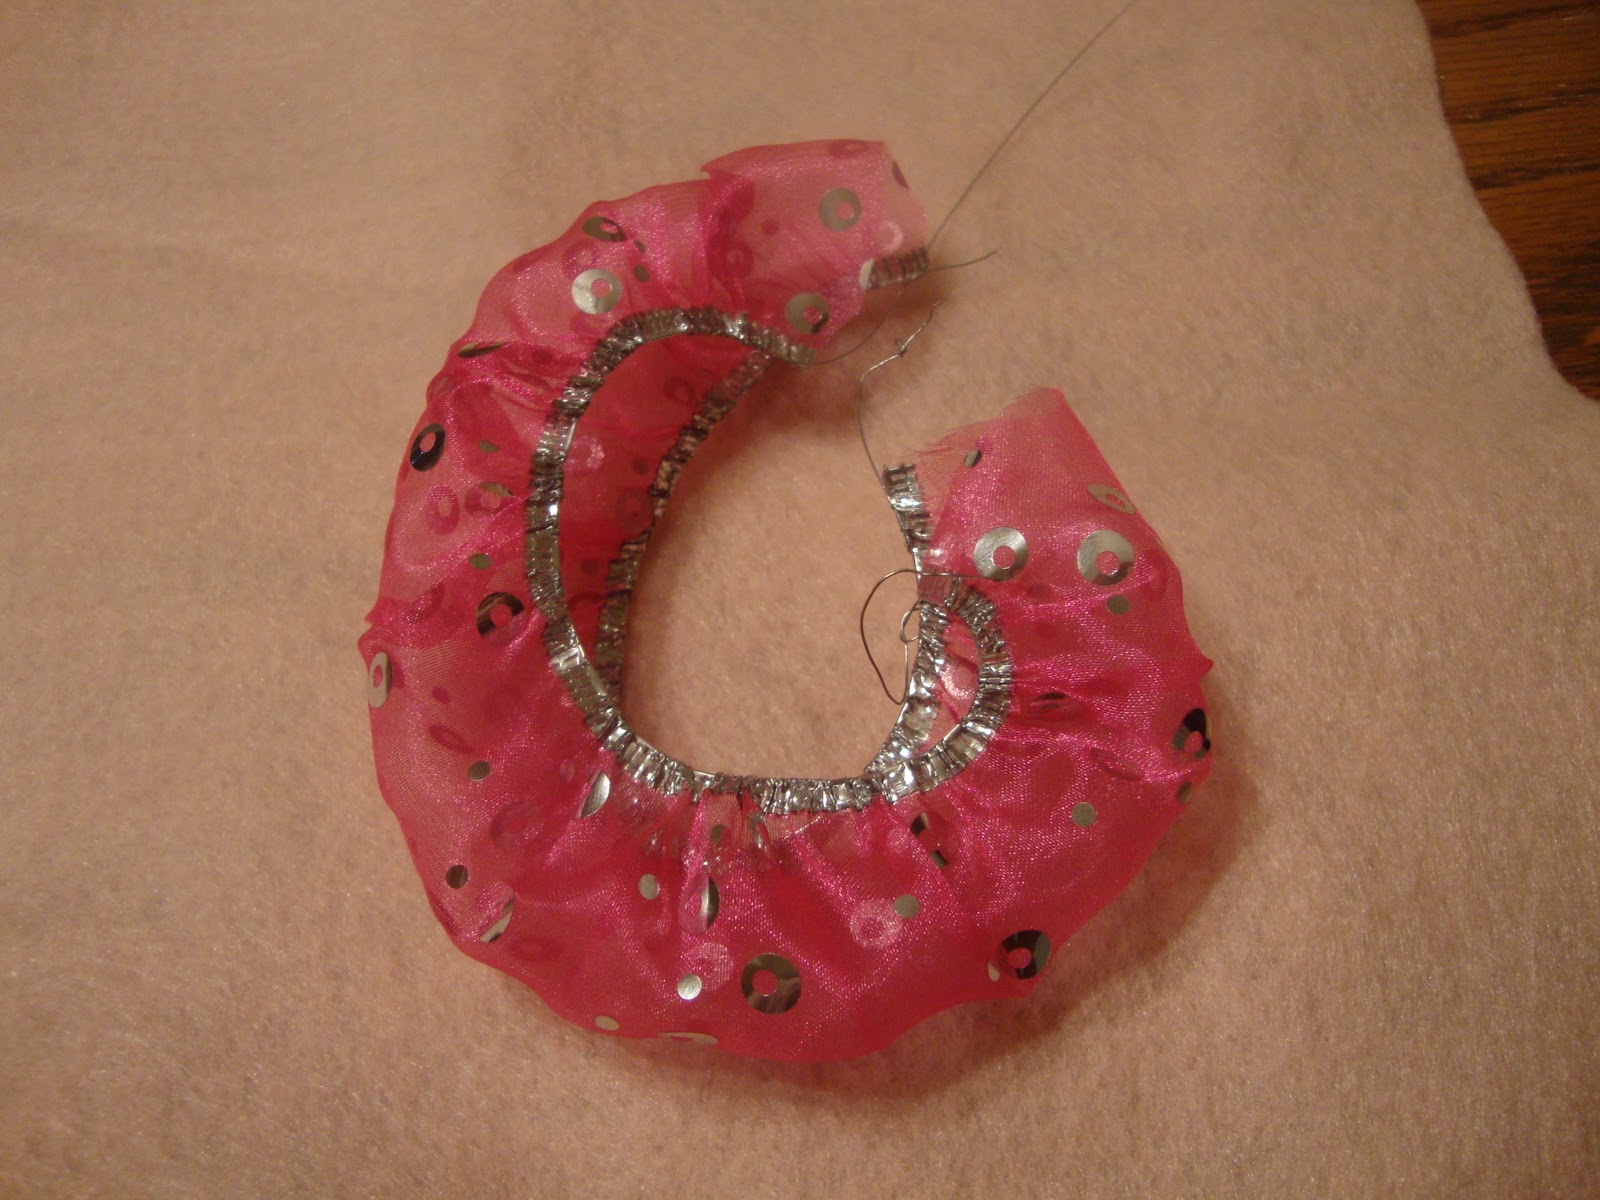
After you gather it fold the ribbon in half.
For the center of your flower or the beginning of your flower fold the ribbon together in sort of a little ball. Hot Glue to get it to stay.
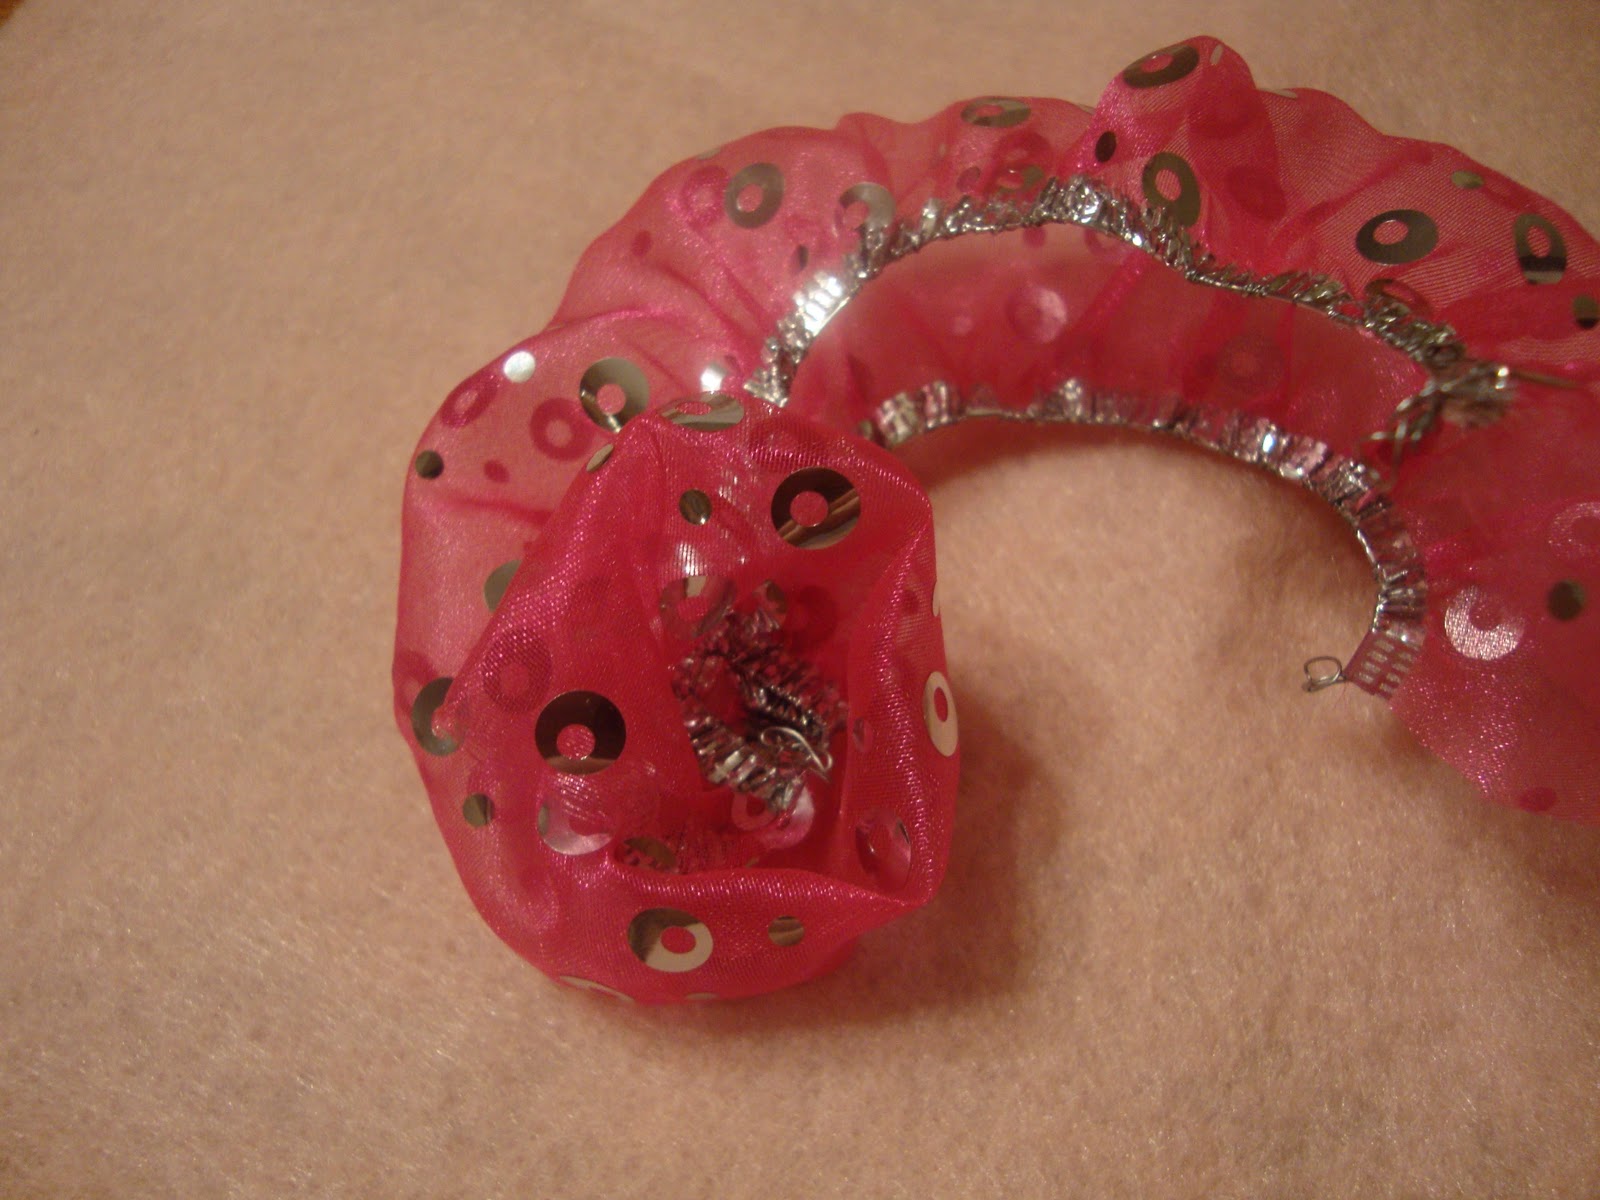
After your middle is cooled flip the flower over so it is the back. Start to wrap the folded ribbon around the middle gluing as you wrap. Continue this process until all of your ribbon is gone.
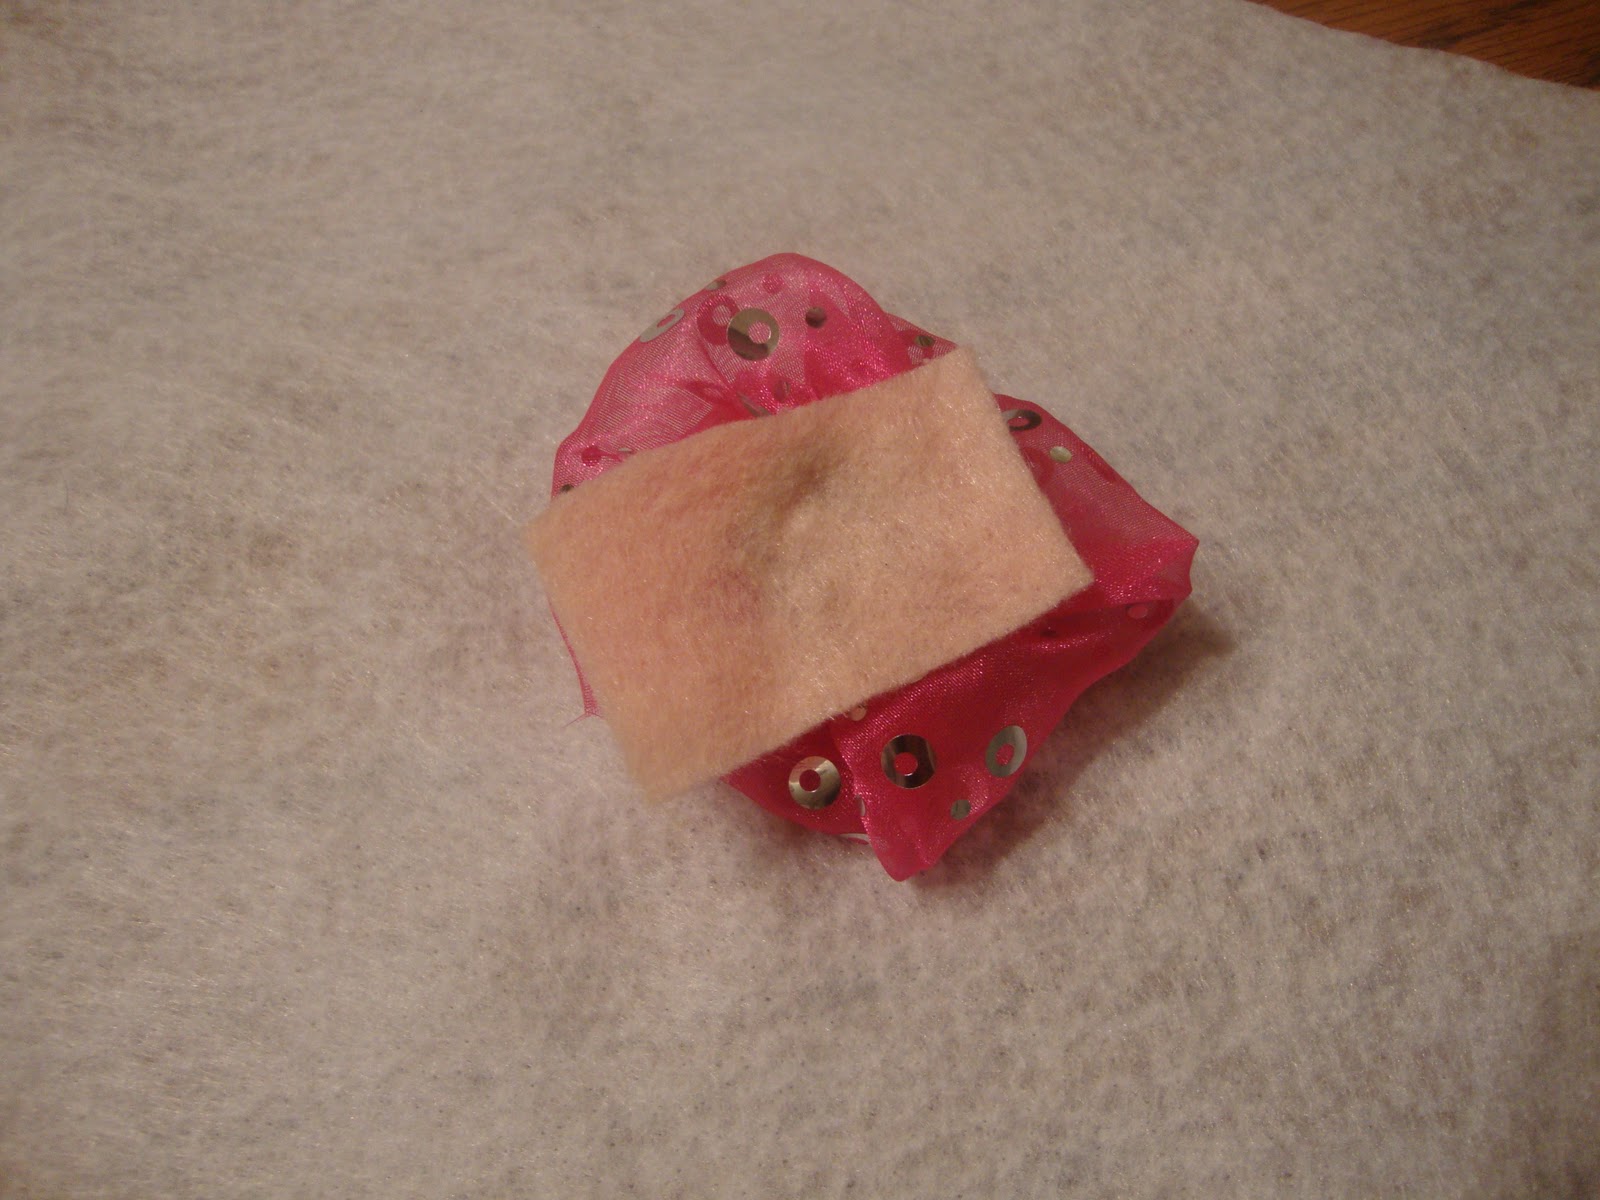
My felt started in a rectangle, but I wanted it to be a circle. All you need to do is trim until you get a nice clean circle.
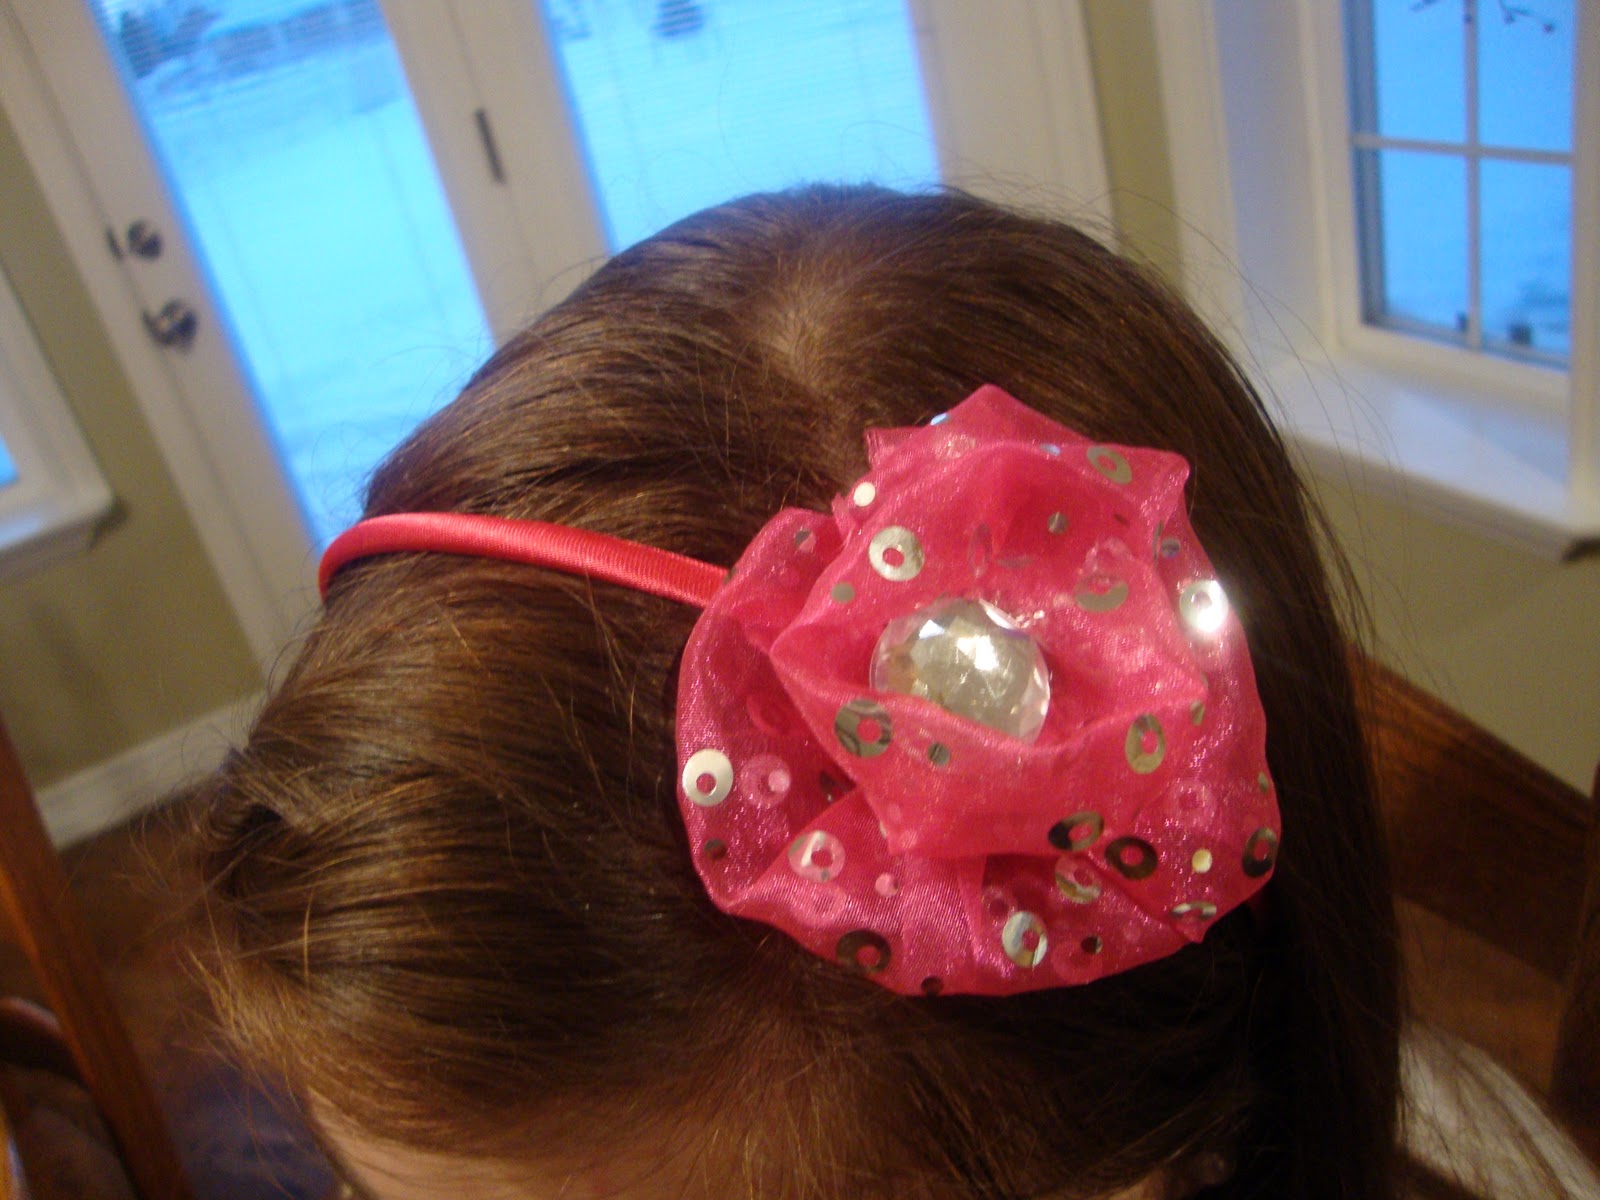
Lastly you get your head band and a rectangle of felt (the felt shouldn’t be seen, so not a big rectangle.) place your finished flower on to the headband and place the felt over the headband and flower. Glue under the felt and let it cool. You can make another flower to place next to it by doing the same steps or you can make a big flower. Any way it is finished. You can also add character by putting a middle like pearls or diamonds for a finish.
And there you have it! The finished headband!
————————————————————–
Way to go Annie! It looks awesome! Thanks for showing us all how to make them.
Now that she has shared a tutorial with you, share some
comment Love with her! Or better yet, head on over to
her blog and check out her other cute hair accessories.
(Visited 28 times, 1 visits today)


Annie–that is an AdOrAbLe headband! The fabric is such a bright and happy pick. I also like the center embellishment. DaZzLe-ShMaZzLe!
You’re such a pro.
And–again Jonie–I love that you are such a great older sister. I really do. I’d like to be like that when I grow up.
Love it – good job Annie!
Aww awesome! I love that your sister guest posts! I’ve been dying to make some more fabric flowers! I made a super cute flower belt for a dress i made for a wedding!
http://temporary-nest.blogspot.com/2010/11/diy-of-different-kind.html
how cool is that!!!!!
Hi There! I found you on FFF from Supermom’s Blog! From what I have read, I love your blog! Fun! I have to say, I TOO am the guinea pig, the oldest of 6 kids, 5 of them being girls and one boy! Hope you have a great weekend! Im a new follower now! 🙂
So cute! This will be a fun activity for my daughters. Thanks for sharing. I’m following back. Thanks also for stopping by and looking forward to more of your posts.
i wish i was that crafty lol maybe ill give it a try but i dont think mine will come out as nice ha!
I’m following from the blog hop I’d love a follow back 🙂
http://myadventures-in-mommyland.blogspot.com