


Something’s Batty
When I saw this on the tatertots and jello blog, I knew I needed to make one for myself. I wanted to change it up just a little bit though. While I like the way Jen’s turned out, I wanted mine to be a little more simple. This is what I came up with.
Where I got my supplies:
I found my shadow box frame at Target. It was originally $15 but I got it for $7! Woot!
The cardstock I already had in my paper pile
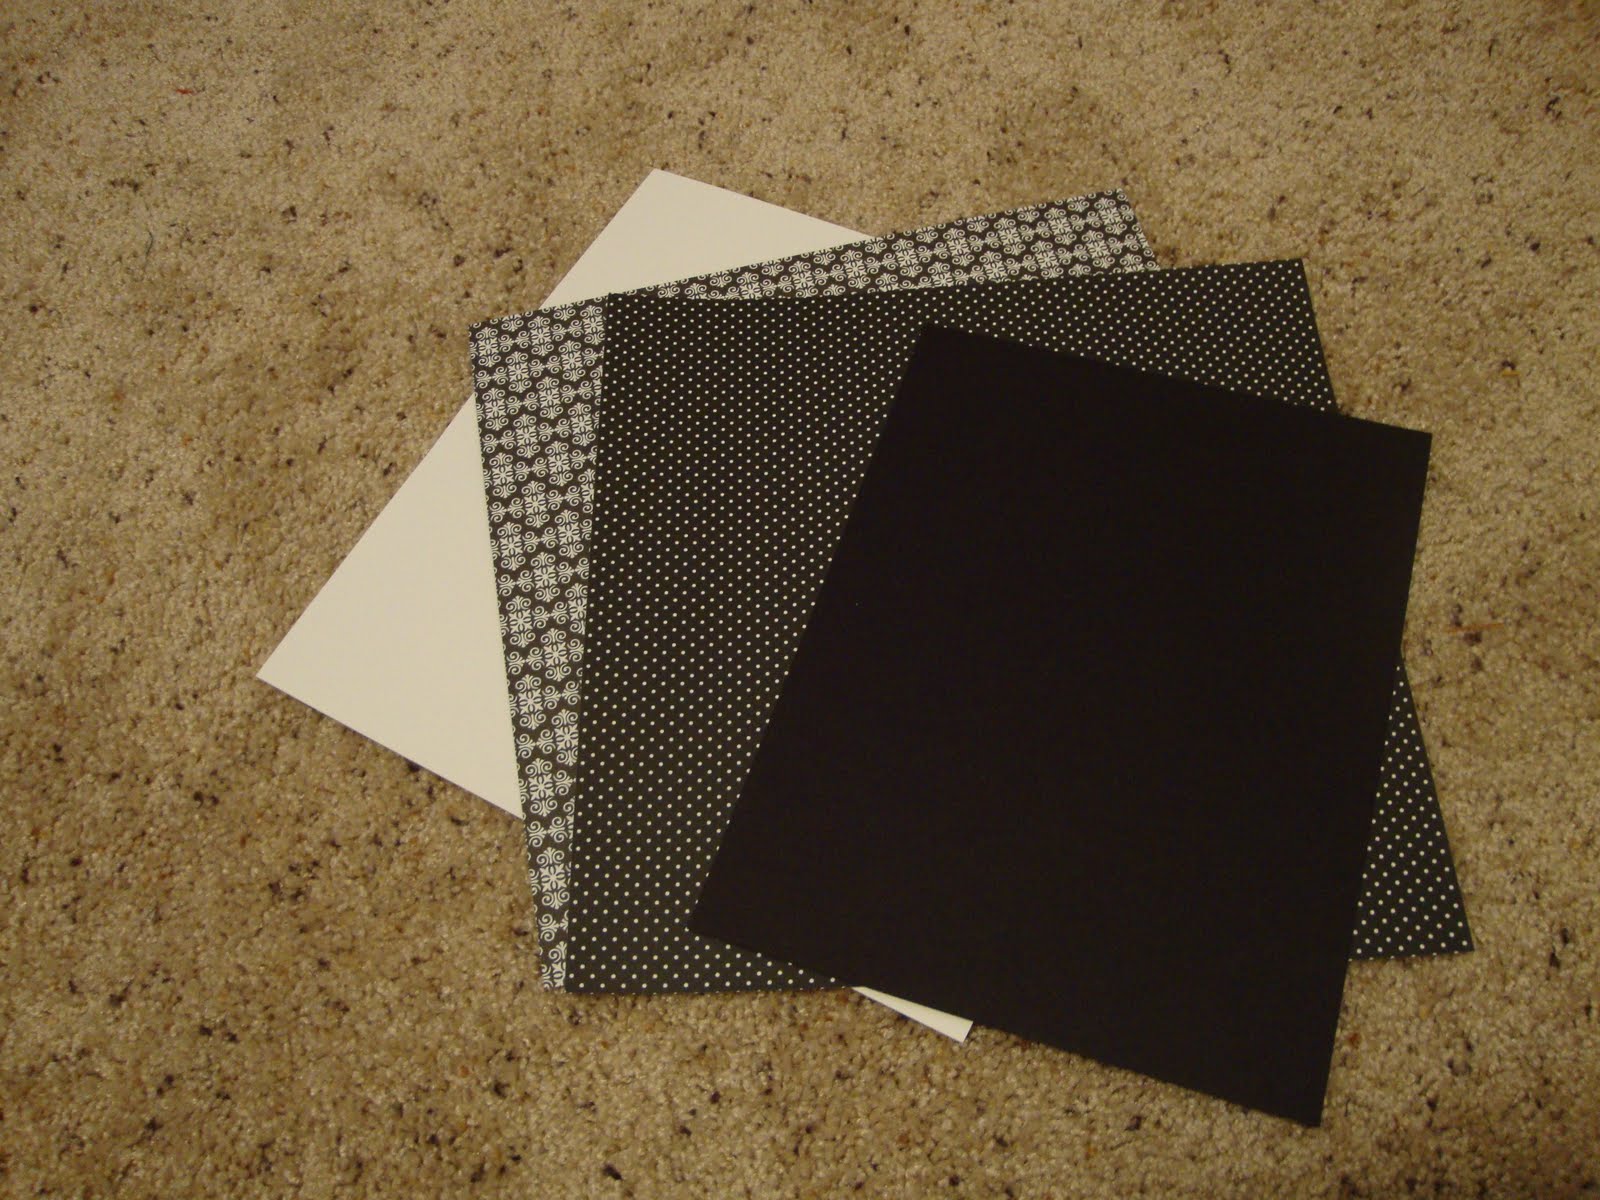
3D glue dots (I got mine from Roberts, but you can find them anywhere)
Let’s get started. It really is quite simple.
1. decide how big you want you middle square to be. I made mine two inches shorter on both sides than the mat was. The mat was 10X13 so I cut my paper to be 8X11.
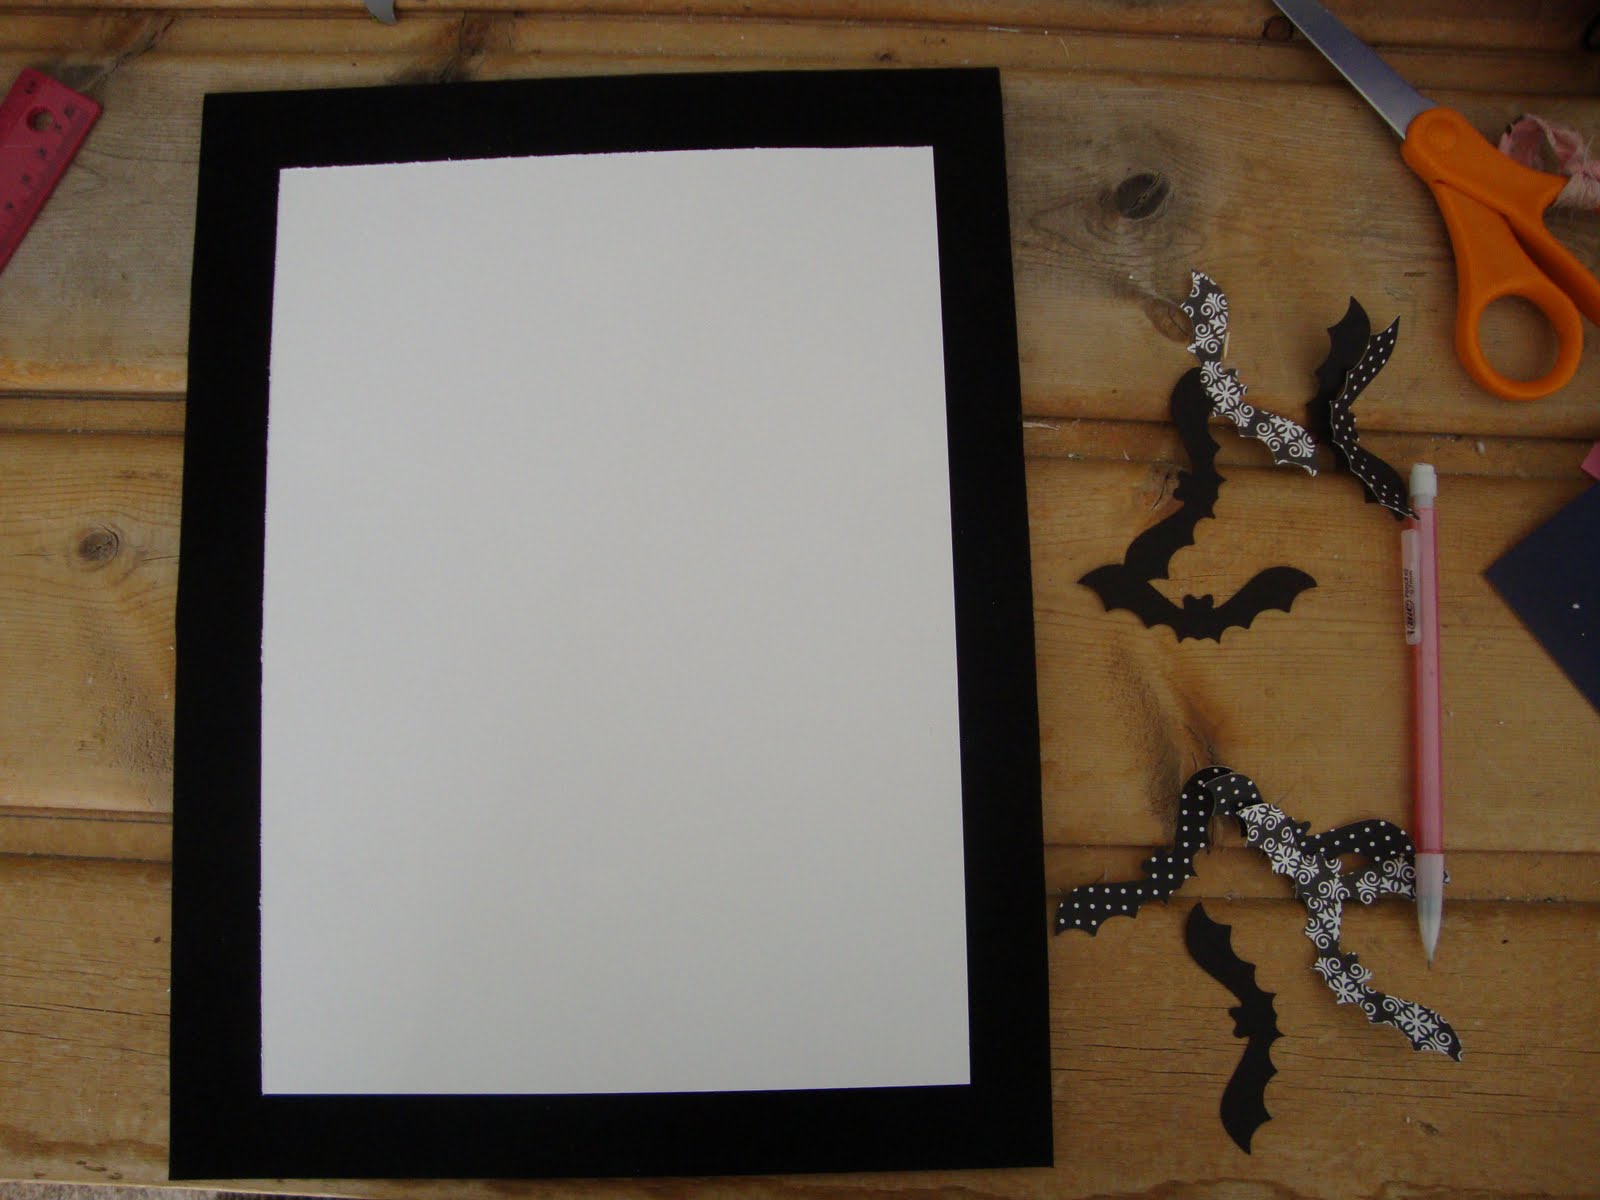
2. Cut out bat silhouettes. Mine were 3 inches wide. (I used my sure cuts a lot program and my cricut.) I just googled bat silhouette and came up with mine. If you don’t have a cricut, just print out the size of bat you want, trace it and then cut it out.

3. Use 3D glue dots to make the bats pop off the page a little. Also, bend the wings so that they bend away from the paper.
4. Put it in your frame and you are done!

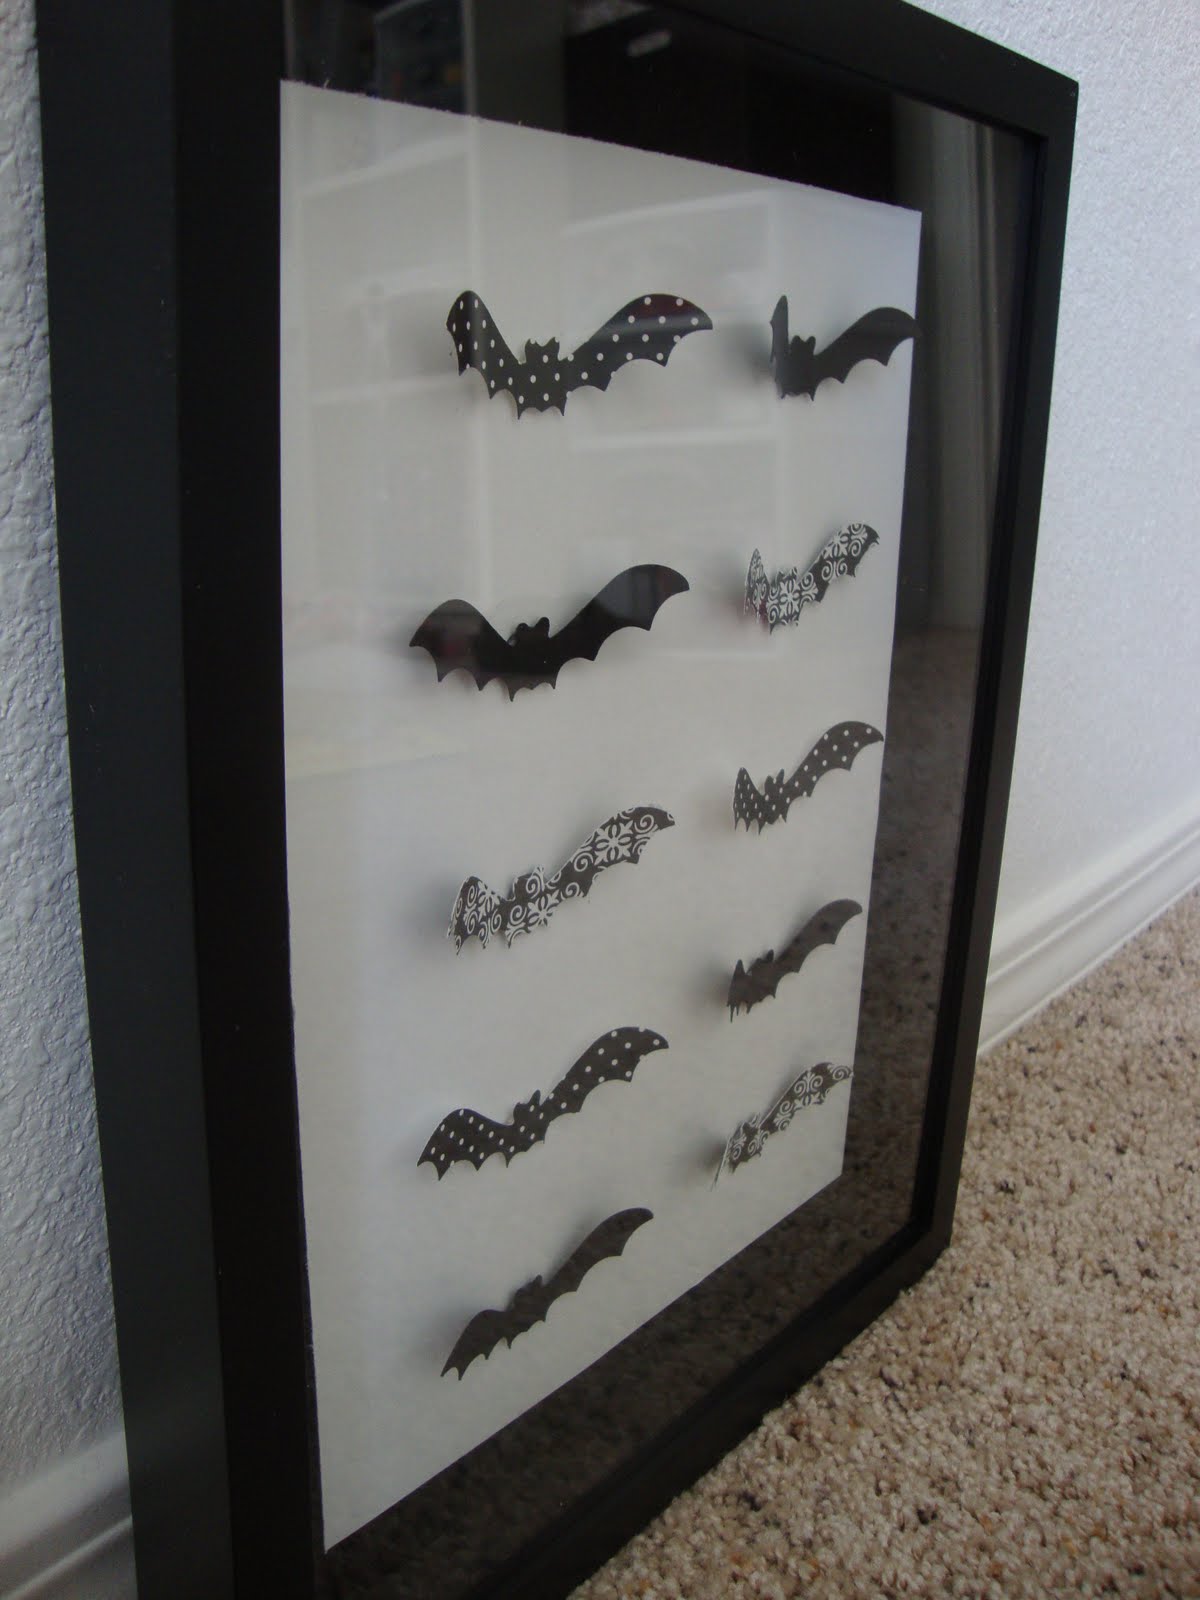
I love the simple look it has. Now the difficult thing is trying to decide where I want to put it 🙂
(Visited 59 times, 1 visits today)

that is way cute Jo! I love your blog!!! I need to make me self a poofy flower! come over and show me!
Love,
(Your fav. Littlest sister,
Annie!
I LOVE it! It is so cute. and I love the contrast with the light background and the darker bats.
Adorable!
xox
Jen
Ooh, nice job! I like that you kept it simple with black and white prints. I saw the same post at Tatertots & Jello and made my own version too. I was so inspired and excited I made it the very next night after seeing her post! If you’re curious, you can check out mine here:
http://sourkrautkrafts.blogspot.com/2010/09/bat-shadowbow-collage.html
I have an idea of where you can put it, its in my house on my wall!! 🙂 I love it!! You are amazing.
Im your newest follower :).
xxx
What a fantastic idea!
I love it
Simple Spooky Chic
Thanks for posting:)
What a great idea! I love it!
I just made a similar one and I love it. So festive for Halloween!