


Pumpkin Bow Tutorial

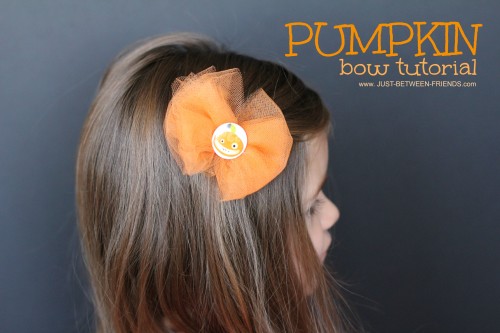
Every little girl needs a Halloween bow. It is just a necessity really. I have some, but I like to make new ones occasionally and thought that maybe you would like this fun and really easy tutorial for how to make a cute Pumpkin Bow.
Here are the supplies needed:
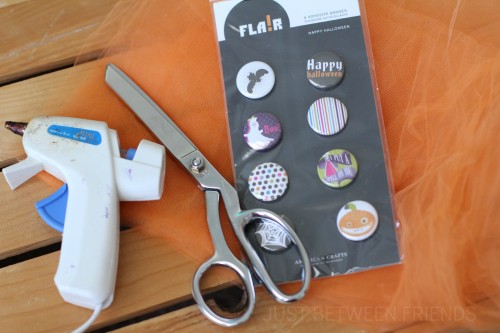
- Orange Tulle
- Hot glue gun
- Scissors
- Pieces of Flair from American Crafts (I always stock up on these in their warehouse sales)
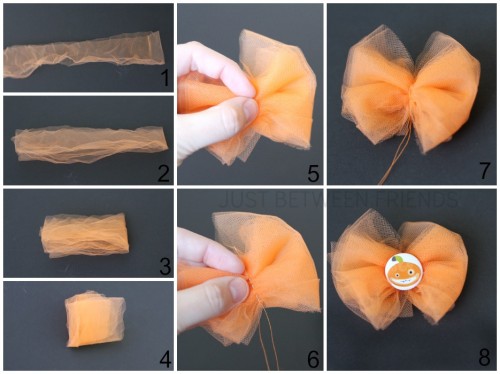
Begin with orange tulle. I kept it folded in half (like it would come off of the bolt of fabric from the store) and cut a strip that was 3 inches wide. Fold that piece in half, then in half again, and one last time in half so that you have a small bundle of folded fabric. Then I pinched the middle of the bow and used a needle and thread to sew a running stitch down the middle of the tulle to hold it in place. Pull it really tight and then wrap the string around the middle to make sure that it is really secure. Fasten the string in the back by tying some knots and then add your embellishment into the middle of the bow using hot glue.
You can choose any type of hair accessory to attach the bow to. I chose a simple clip and fastened it to the bow with hot glue. You can see how to do that on my ruffled flowers post.
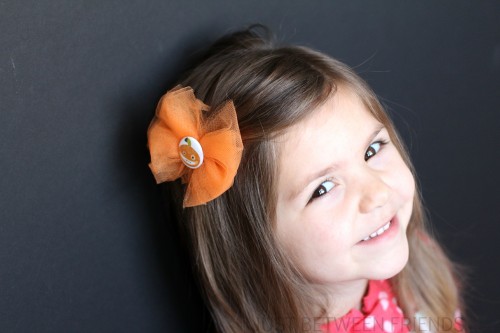
That’s it! These are so quick and easy to make, and they look so darling. Isn’t my daughter so beautiful? I sure think so. 🙂


SO cute!! I need to make some for my daughter! Thanks for sharing 🙂
So cute! I will have to make some for Shilee!
Super cute! Pinning to my DIY hair pretties board!
Oh that is so sweet! I think the niece need their own. Pinning
The bow and the model are both the cutest thing I have ever seen!