DIY Porch Table
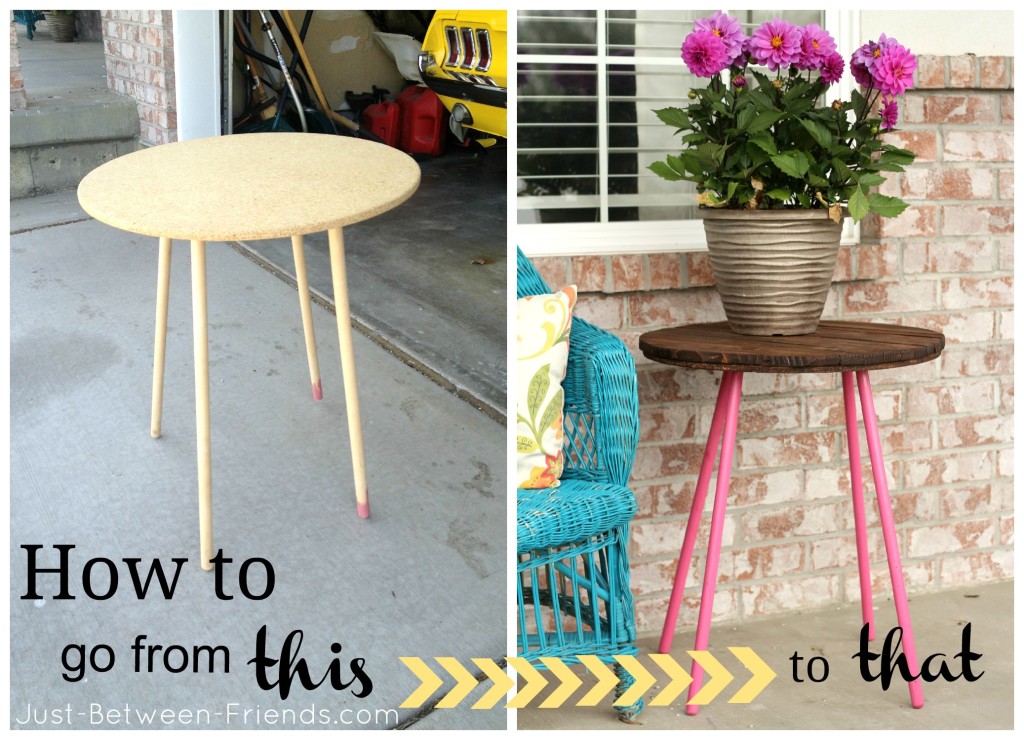
My favorite part about spring is sprucing up my yard and my porch and bringing in some color. I love fresh flowers and the color that they add. I decided I needed a table on my porch that I could put some flowers on for a little extra height. As luck would have it, one day I was at the thrift store and happened upon this table and the price couldn’t have been better. $3!!!! It wasn’t pretty to look at, but I knew it had potential. The best part about this table is the simple construction. You could create the whole thing if you wanted to, and for very inexpensively. The top is just MDF and the legs are standard spindle legs with connectors that I have seen at Home Depot before.
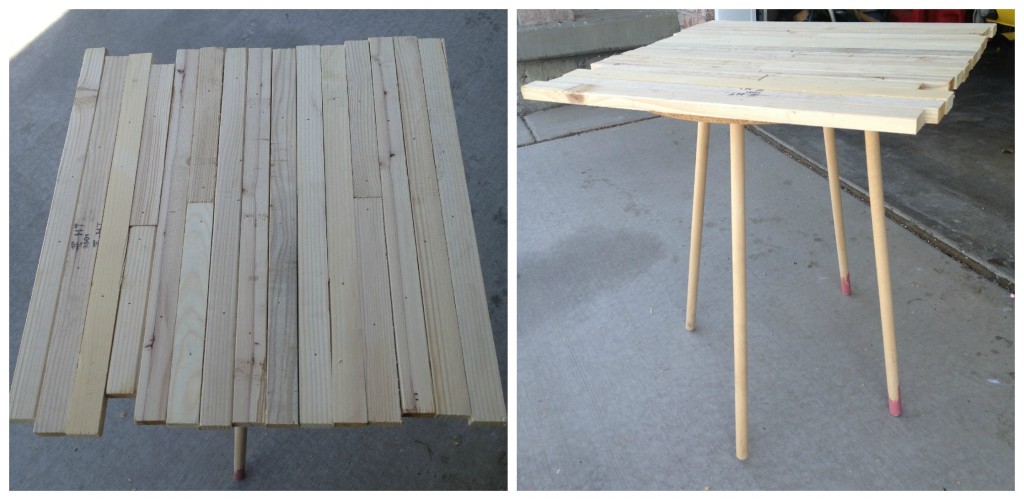
Alright, let’s get down to what I did to this porch table. I had a bunch of scrap 1X2 pieces of wood in varying lengths. If you don’t happen to have the wood at home, you can buy a 1X2X8 piece of wood for about $2. It is SO inexpensive but works great. I laid the wood on my table top to make sure I knew where I wanted each piece and then I put my new nail guns (that I got for my birthday) to use. You could also use a hammer and nails, but it was definitely easier with the nail gun. I used about three nails per board for the long ones and two for the short pieces.
Next, I wanted the table to still have it’s circular shape, so I flipped it over and drew a circle on the wood. I wanted it to have an overhang so that the MDF wasn’t visible, so I used a piece of wood that was about 1/2″ thick and used that to help me keep an even spacing all the way around the table as I drew the circle. (Not a very technical way to do it, but effective!) I used my jigsaw to cut out the circle. There were definitely parts that weren’t exactly even, but it all worked out in the end. I pulled out my sander and went to town on it. I evened it all out and now you can’t even tell that it was wonky before!
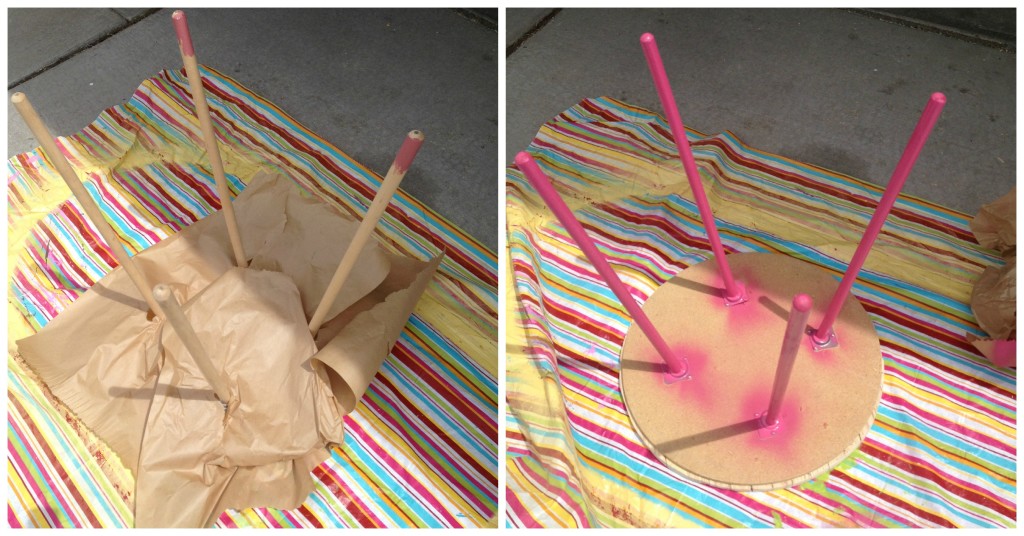
Now that the table was all cut out and sanded, I spray painted the legs a bright pink color. I thought it would look so great with my turquoise bench. ( I was right, by the way) 🙂
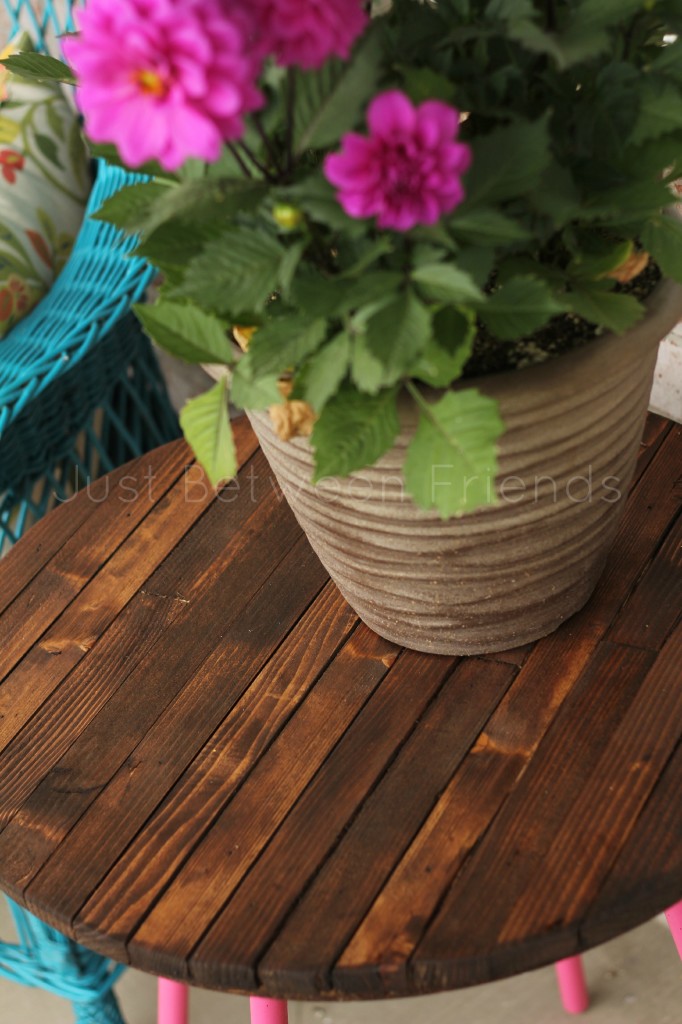
Once the legs were dry, I used a Minwax stain in a honey color to finish off the top. I stained the MDF bottom as well as the top part so that it was all the same color. To make sure that it was a little more weather proof, I finished everything off with a quick glossy clear coat spray paint. It gives it a nice finished look. Ta-da!
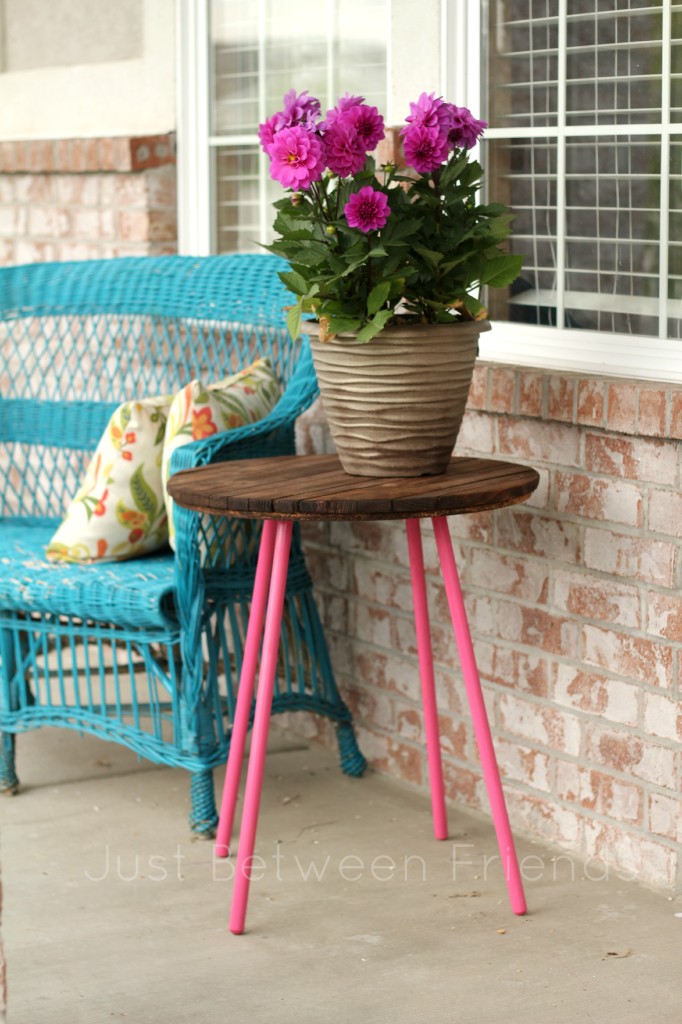
Doesn’t it make such a big difference?! It was a project that was done in one afternoon-that’s my kind of project! I love the way it turned out and the statement that it brings to my porch!




This is darling!!! I just passed up a table similar at Goodwill today and now I wish I would have grabbed it!!