Easter Bunny Craft Idea
Here’s comes Peter Cottontail, hoppin down the bunny trail. Hippity Hoppity Easter’s on it’s way!
Please tell me that the song played in your head while you read that. It was playin in mine while I wrote it. 🙂
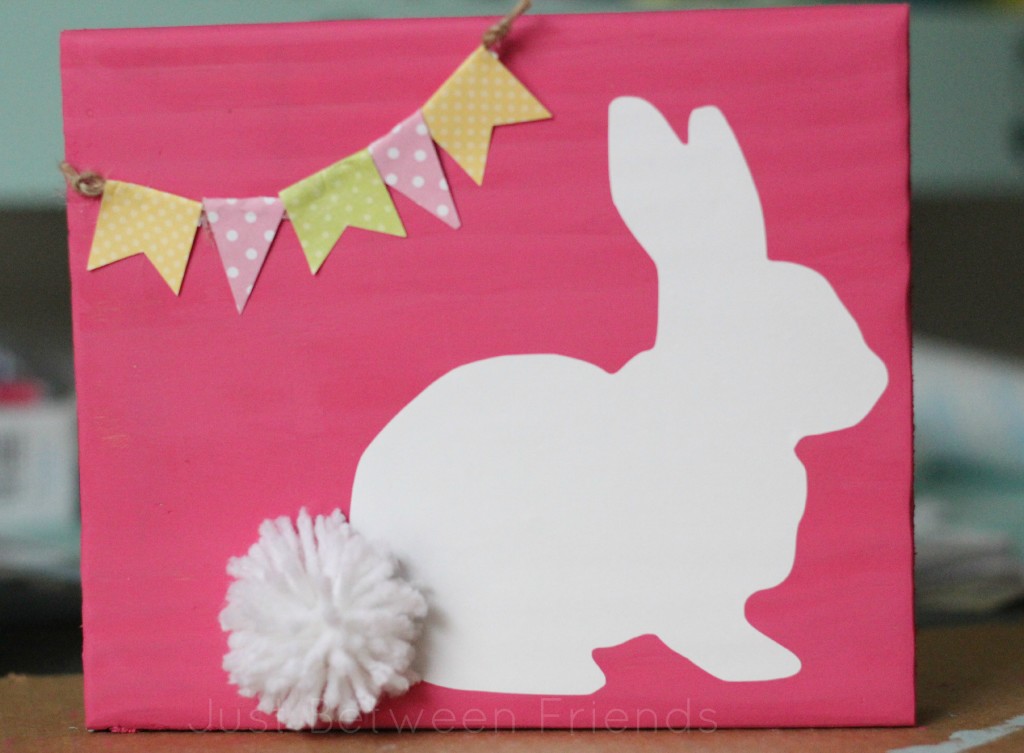
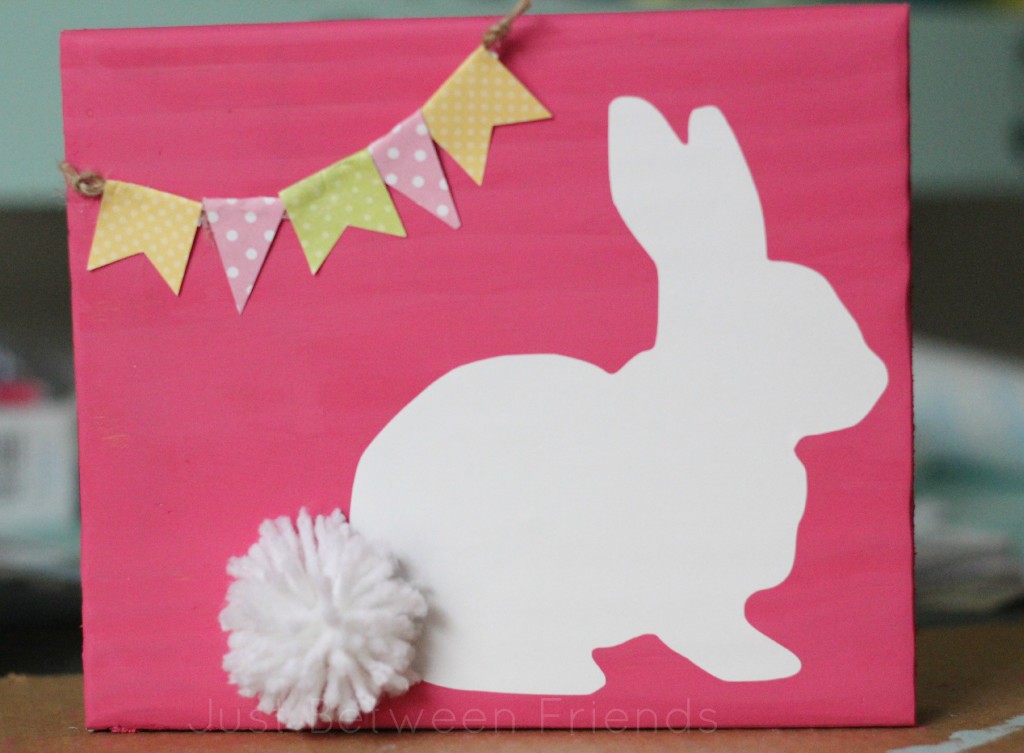
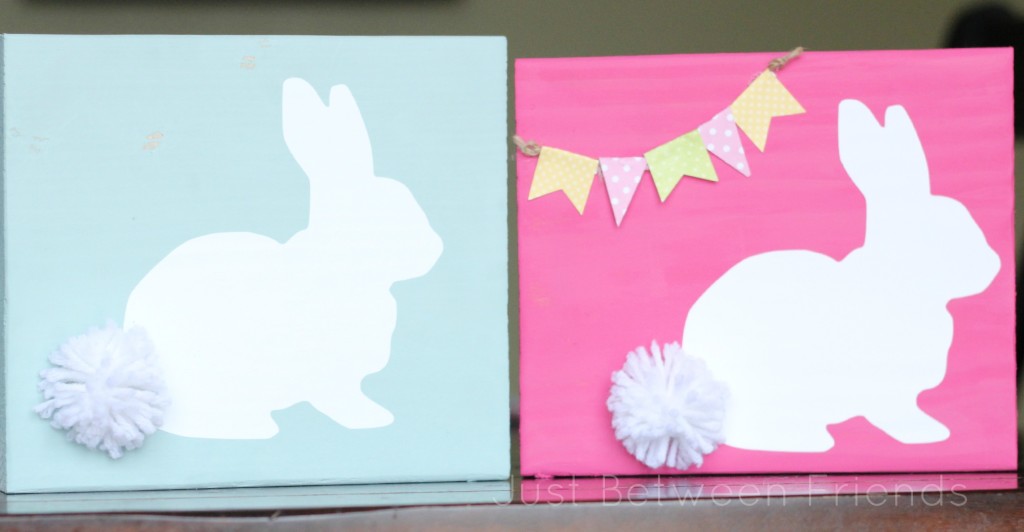
Seriously though, Easter is coming up in a few short weeks and I thought it would be fun to do an Easter project with the group of girls in my church during their twice a month activity days. This little rabbit is a fun, easy, inexpensive and cute Easter Bunny craft idea to do with a group or by yourself. Either way, you are sure to have an adorable rabbit decoration in the end!
Here’s what you need to do to get started. First you need to find something to put the rabbit on. I used a piece of wood that was a 2X8 and then cut down to a 8 in X 7 in rectangle. It seemed to be just the right size. The girls only had one hour to complete the project, and we didn’t want to go crazy on cost of paint. You could use the wood like I did, or you could go get some little wooden plaques from your local craft store. If they don’t have any, you could even use a frame and put the rabbit on the glass and have the girls paint the frame. The options are endless really.
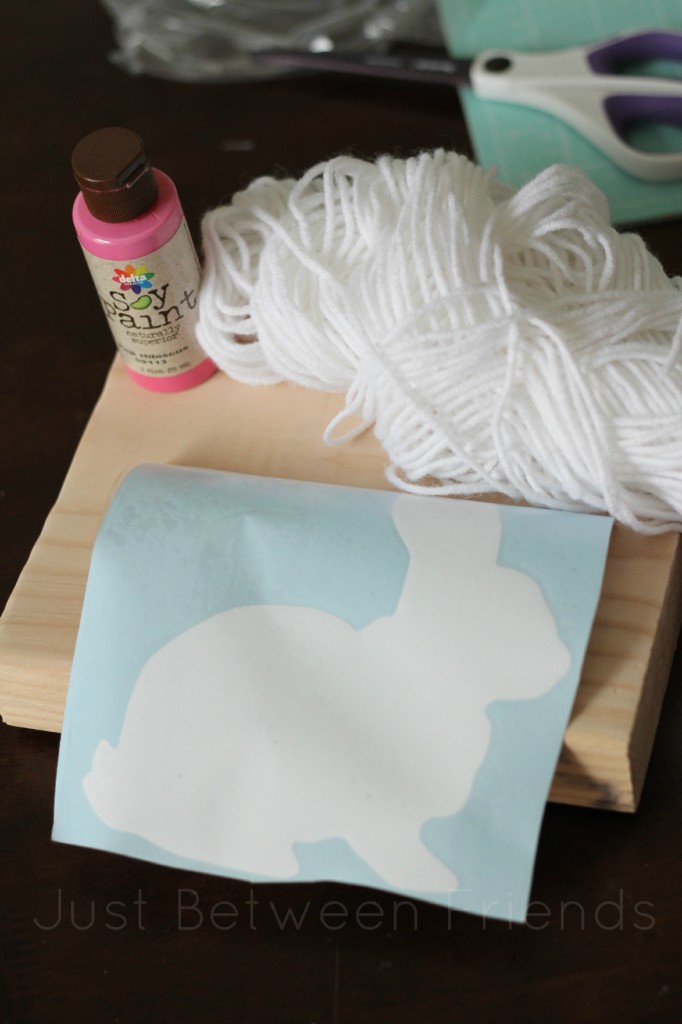
You will need to get a bunny silhouette from somewhere. I used this free SVG download to create mine because I thought it was a cute silhouette. If you have a machine that cuts vinyl, you should be able to cut this shape. If you don’t have a vinyl cutting machine, you can purchase the vinyl from me for .75 per bunny. You can find it by clicking my shop button underneath my header above.
Let’s recap really quickly. The supplies needed are the wood that we talked about, the vinyl, paint, brushes and yarn.
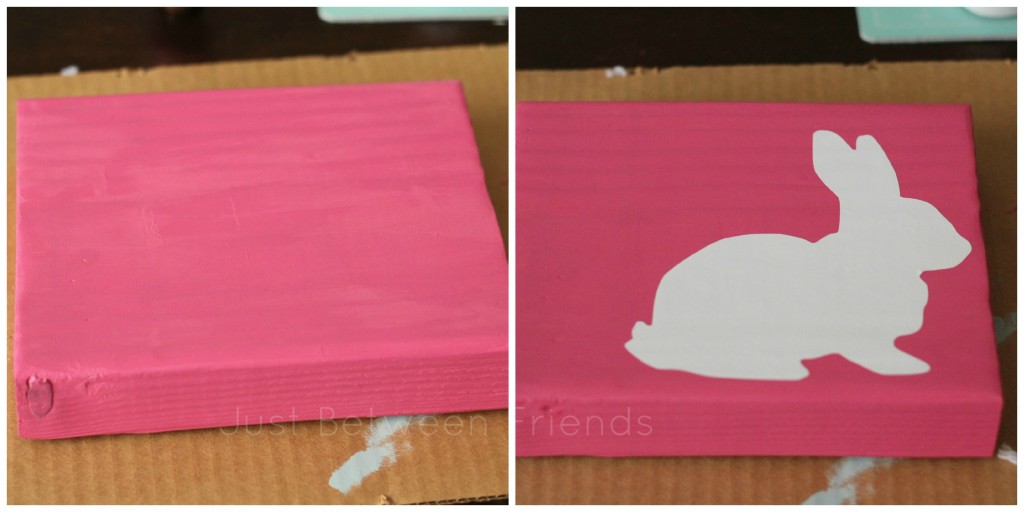
Now that you have all your supplies necessary, here’s what you need to do! First paint the block. Once it is dry, apply the vinyl and make sure that you press all the bubbles out from under it so that it sticks really well.
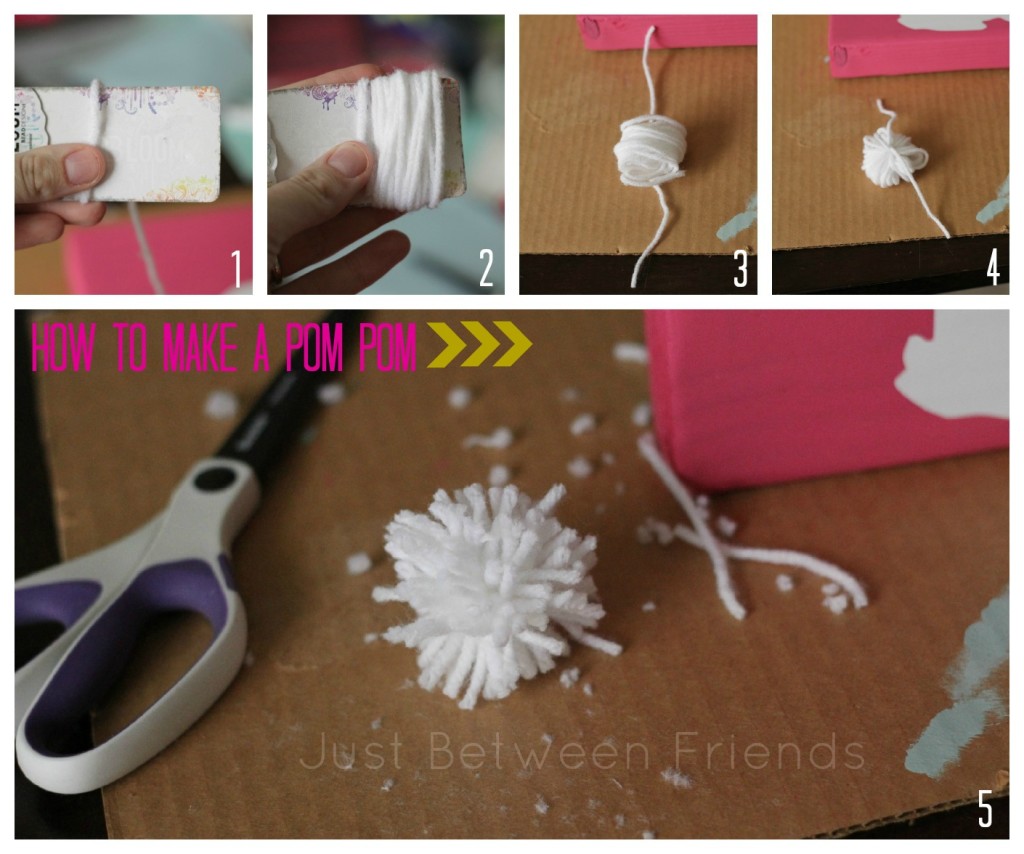
While I was waiting for the paint to dry, I helped the girls make cute little pom poms for the tail. I used a piece of thin cardboard that was about 2 inches wide. You will need to wrap the yarn around the card 30 times. Once you have it all wrapped, you slide it off the cardboard and tie it around the middle with another piece of yarn. Last you will clip all of the loops and then trim it up to make it look nice and fluffy and round.
The paint will be dry by now, so add your vinyl and then hot glue the tail onto the rabbit. The next part is optional. I thought it would be cute to add a little banner to the top. I used a piece of twine and some paper scraps cut into different shapes. You just fold the top of the paper over the twine and glue it into place to create it.
Place the banner wherever you would like and ta-da! you are done! I just think these are so cute. I think they would make a fun gift to give to a friend or relative too. Let me know if you have any questions about any of this, I am “hoppy” to help. 🙂



Thanks for posting this! I’m totally going to do it with my girls this week! 🙂