DIY Beanbags
Let’s see….where did we last leave off? I had just shown you my loft space and now I need to show you what happens to be my favorite part of the loft.
 |
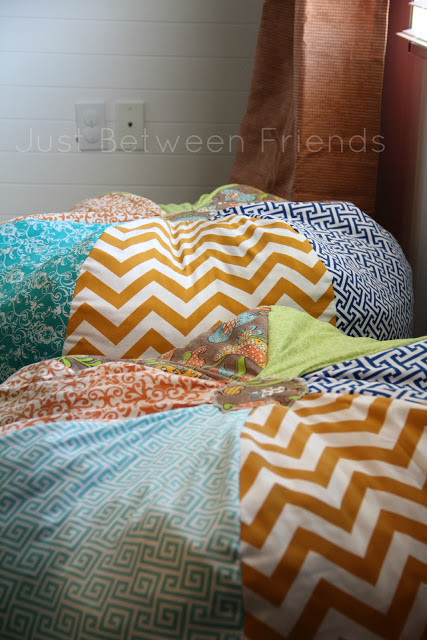
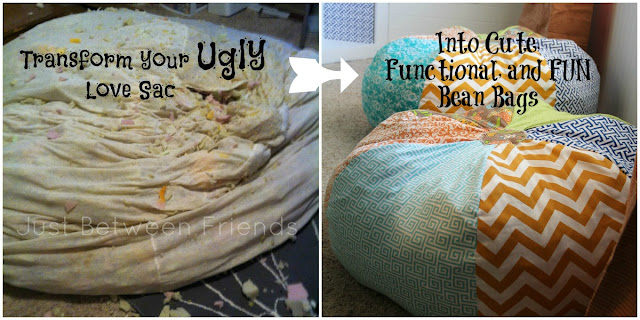
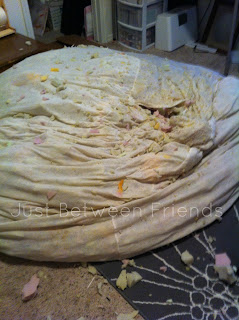
These DIY beanbags aren’t just your run-of-the-mill bean bags. No sir-ee! I originally had a 6 foot love sac in the loft. The kids loved to play on it (sometimes) and it was ALWAYS flat and not pretty at all. It was a pain in the behind to fluff up and it was WAY too heavy to think about moving around. So, there it sat. Flat and in the corner for two and half years.
I had an ah-ha moment one day. I thought, “what if I were to turn this love sac into something that is cute and functional that the girls could use more easily?” And that is when I decided I would make my own bean bags!
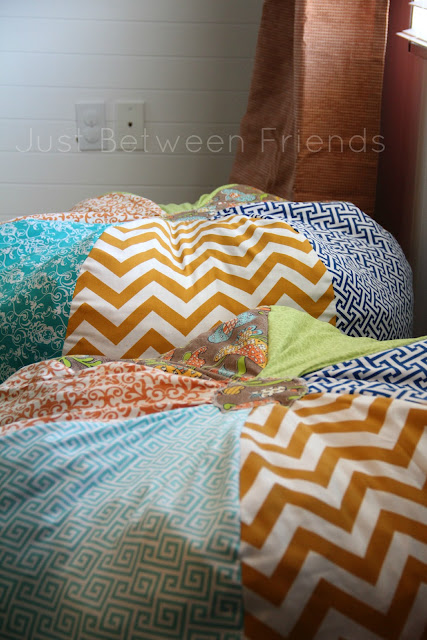
The pattern I used for the bean bags is from Michael Miller fabrics and is perfect. I wanted these to be colorful, full of patterns, and so fun. I think I achieved that look for sure! I used fabrics that are thick and durable because I don’t want to have to redo any of it later on.
The verdict is in, and the girls love them! They are always sitting, jumping, and playing on them. I would say that is was worth the time spent on them.
I do have a couple of warnings for you.
#1 The first one will take you a long time. Just plan on it and know that once you get the hang of it that the next ones won’t take you as long.
#2 The stuffing will make a big mess. Also, if you have a 6 foot love sac, three bean bags won’t use all of the stuffing. You will have enough to make like 7 or 8 probably.
That being said, you should make them because they are adorable.


THESE! They’re so freaking cute! Love the mix you did of patterns – and of course the chevron/zig zag! They came out beautiful, and way to re-use the old bean bag! Great job!