Light Up Halloween Sign
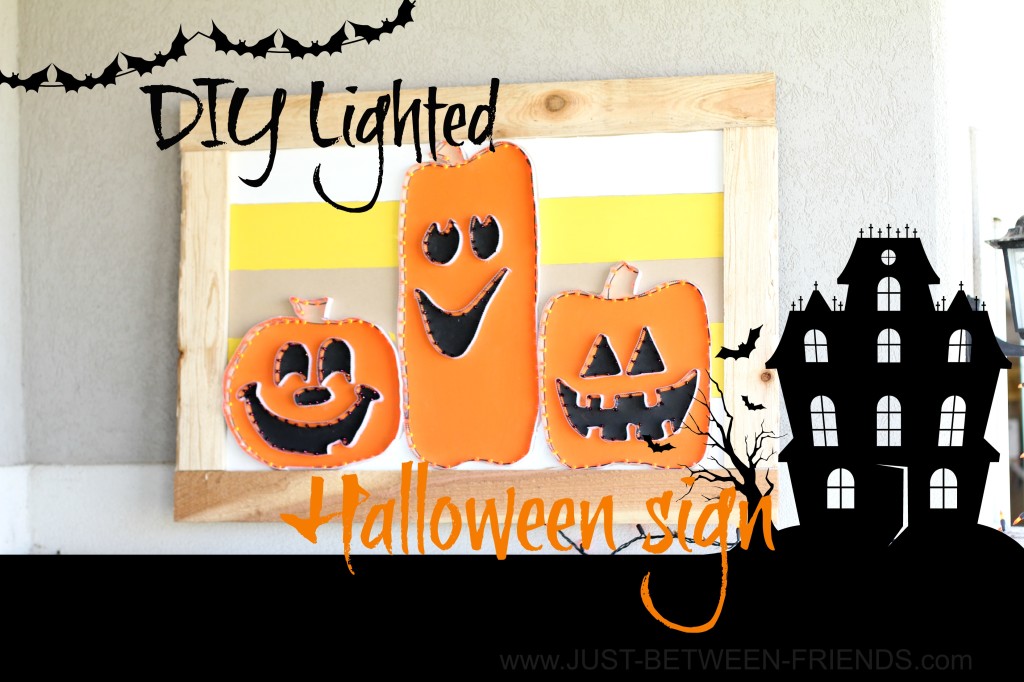
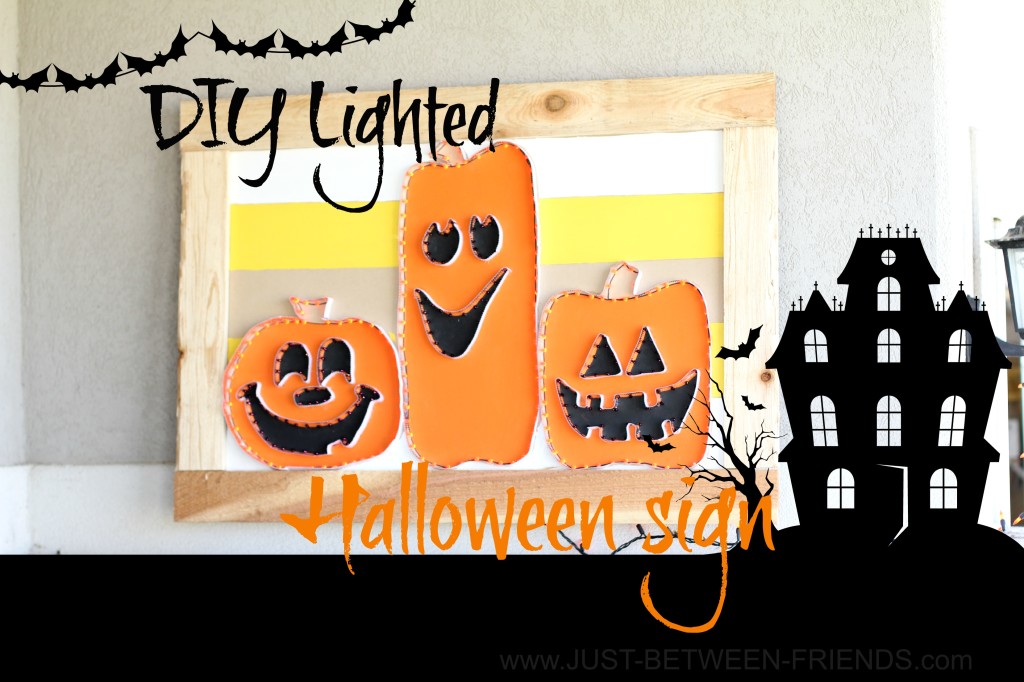
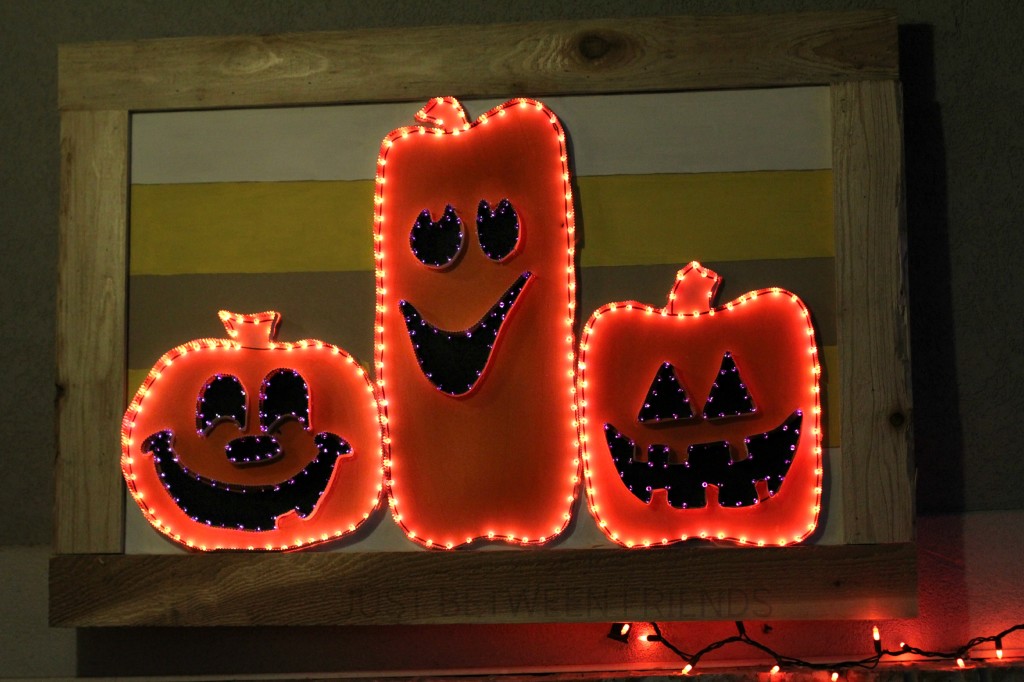
You know those times when you are just so excited about a project and it takes everything in you to not show everyone before you post about it? This is one of those times. If you are my neighbor, you have most likely seen this Light Up Halloween Sign out on my porch already. Today I am going to show you how to make one of your own! I know this looks a little complicated, but trust me, it is really not too hard to put together.
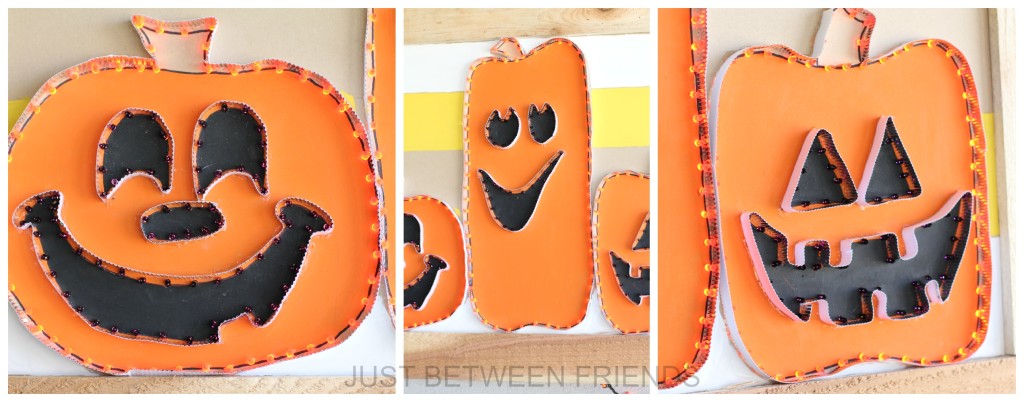
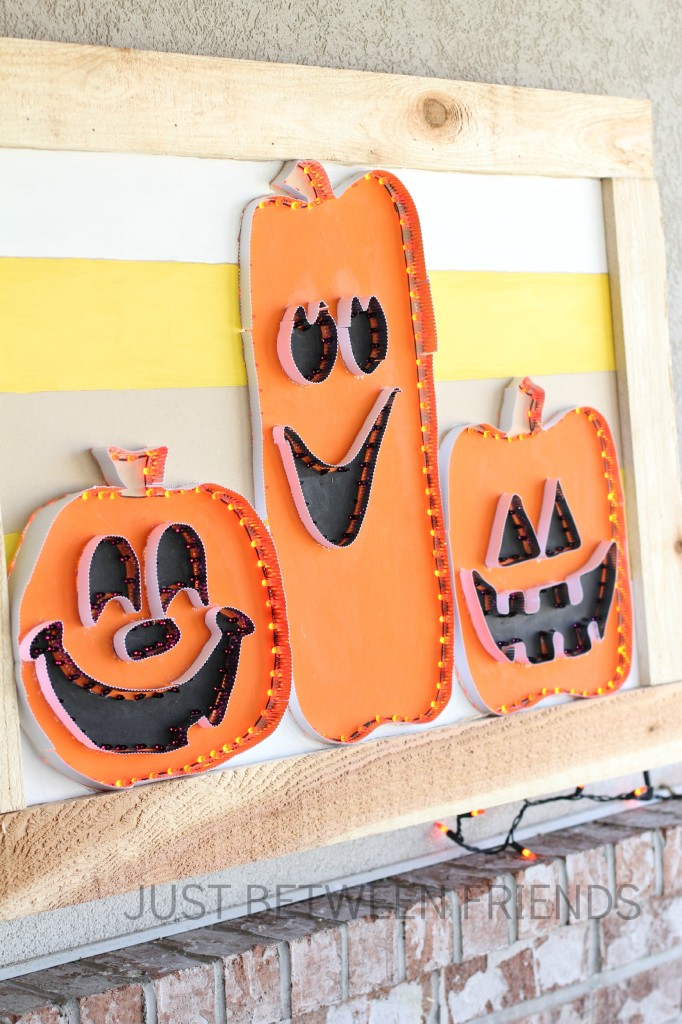
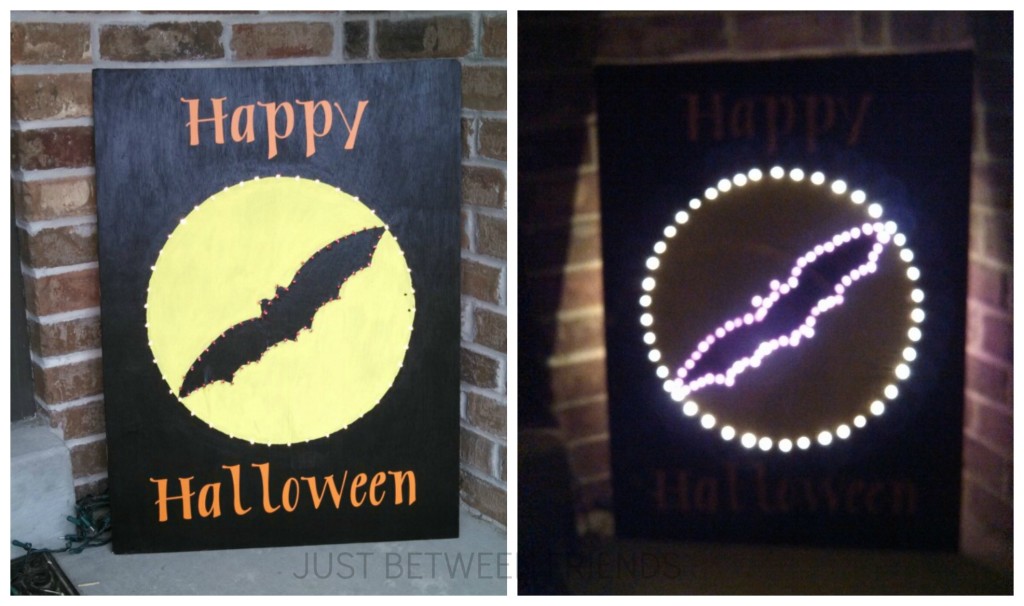
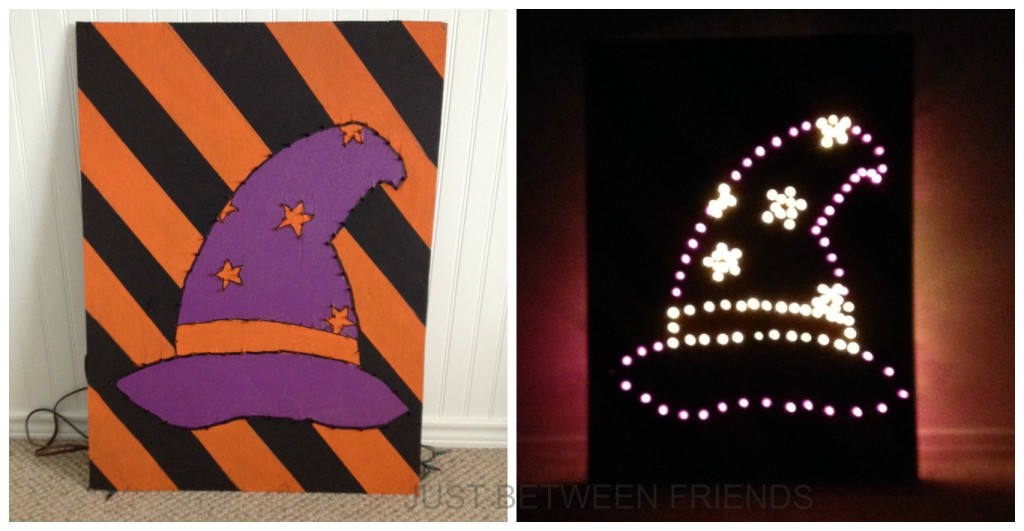
When I came up with this idea, I was talking with my neighbor across the street about doing a project together. After I explained what I was thinking, she jumped on board and made one of her own. The hardest part about this sign is trying to decide which image to use on the board. We couldn’t decide, so we asked another neighbor to come over and make one as well. So, you are in luck. I have three different sign options to show you, but really the possibilities are endless!
I went with jack-o-lanterns because I thought it would be really fun for my porch and not too scary. To get started, I went to Home Depot and bought a piece of 1/8 inch MDF and had it cut to be 3 ft X 2 ft. You can really do any size that you want, I just wanted it to be nice and big on my porch. I also bought some cedar fence posts. They are only &1.62 each for a 6 ft piece of wood, have a really rustic look to them, and are great for outdoor use. I bought the cedar because I knew that I wanted to frame out the pumpkin sign to give it a more finished look. You will also need Christmas lights. I bought orange and purple and needed 7 boxes of lights total for this size of sign. The amount of lights will depend on how detailed your sign is and how large it is.
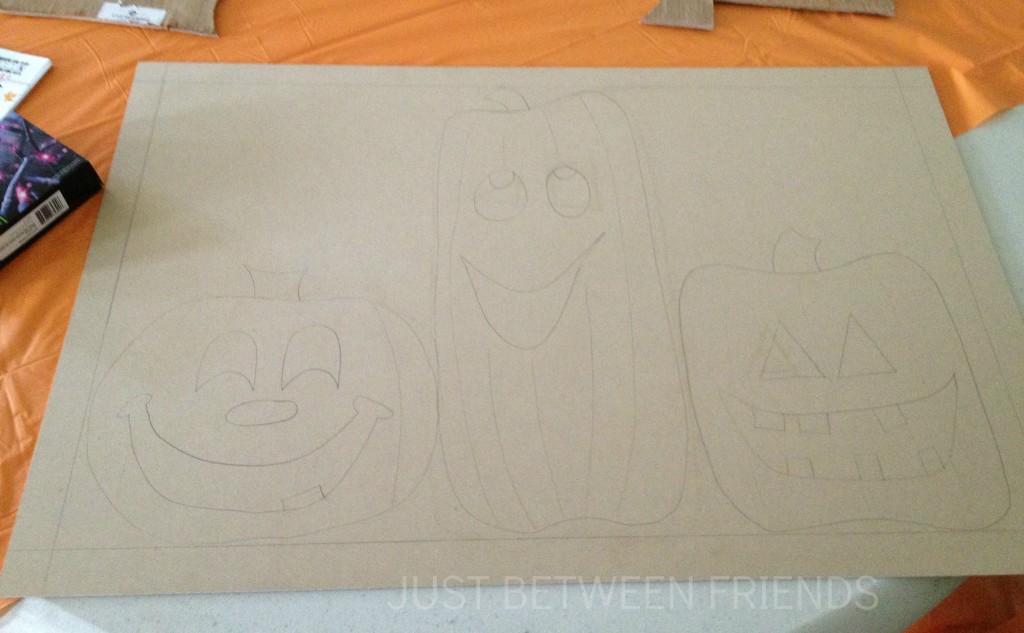
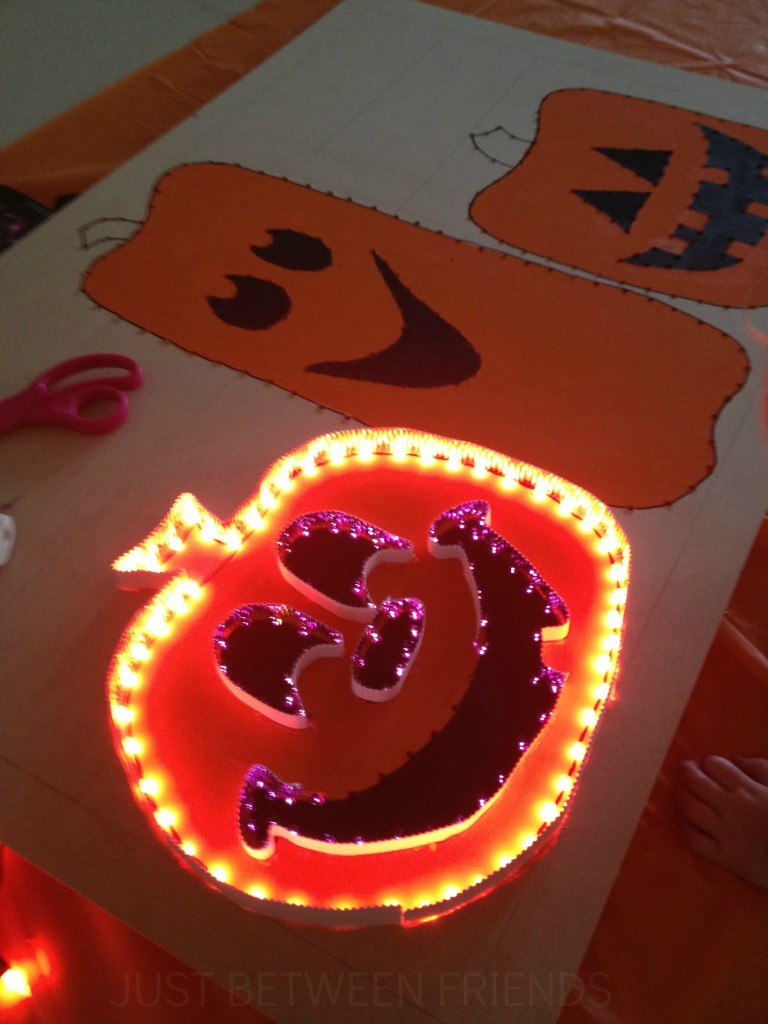
After I had all my supplies, I brought them home and got to work. I marked a space all the way around the board that was 2.5 inches wide so that I would have something to attach my frame pieces to. Then I used a pencil and sketched my pumpkin shapes and jack-o-lantern faces. Once they were sketched, I pulled out the paint and painted the sign the way that I wanted it to look and then outlined everything with a sharpie marker so that it was really crisp lines.
Next, you will use a drill to drill some holes about an inch apart all along the lines that you have drawn. I used a drill bit that was just barely the right size to push a Christmas light through and fit really snug.
After the lights were all in place, I bought some corrugated shiny silver paper from Hobby Lobby and cut it into little strips. Then, using my hot glue gun I lined the outside edges of the pumpkin shapes and faces with it to reflect the light inside of the pumpkin
Once the strips of paper were in place, it was time to add my frame around the edges. I didn’t need any fancy miter cuts on the corners since I was going for a simple rustic look. I started with my side pieces and then cut the top and bottom pieces. You can attach the wood however you would like to, but I used my nail gun because it is quick and easy.
I plugged hung it with some wire on my porch and ta-da! It looks so festive and fun! Now, take a look at the signs that my friends made. Aren’t they AWESOME!?! Our neighborhood is feeling pretty festive. We even have a lifesize witch around the corner.
What do you think? Would you ever take on a project like this?


Hello Mrs. Genius, these are so cute. I can’t get over how adorable and festive these are. I want one in front of my house 🙂
Oh my goodness… this is such a cute sign! I have to make this for sure! Saw your link on Utah Bloggers and wanted to stop by and pin 🙂
Shauna @ The Best Blog Recipes
I am dying!!! This is so cute jonie I think i need to come trick or treat at your house. 🙂
This is a lot of fun – I would love to have something like this on my porch!
This is awesome! Thanks for making it a tutorial! My husband just brought home some MDF from work (he’s a builder) and this would be perfect for it! I saw you at the SEO thing last night and I think your site design is way fun!
I completely love this! It is kind of amazing! What can’t you do?
I loved this so much when I saw it at your house. Your creativity is amazing. I was just telling becky that I couldn’t believe how quick you can whip out a project and have it be perfect. Seriously too cute.
oooh this is such a fun idea I can’t wait to try it. brilliant
These are brilliant!! I love them. I’m not sure I have the talent to make one myself but seriously this is amazing! Jesseca and I were just talking about how talented you are. Love them!